This guide will show you the easiest and fastest way to download Kodi to your Amazon Fire TV (every version including the Fire TV Stick/Lite/4K, Fire TV Cube, and all others). This tutorial doesn’t not require anything; you can do everything on the Fire TV itself. Learn how to install Kodi to your Amazon Fire TV in minutes.
Install Kodi to Amazon Fire TV
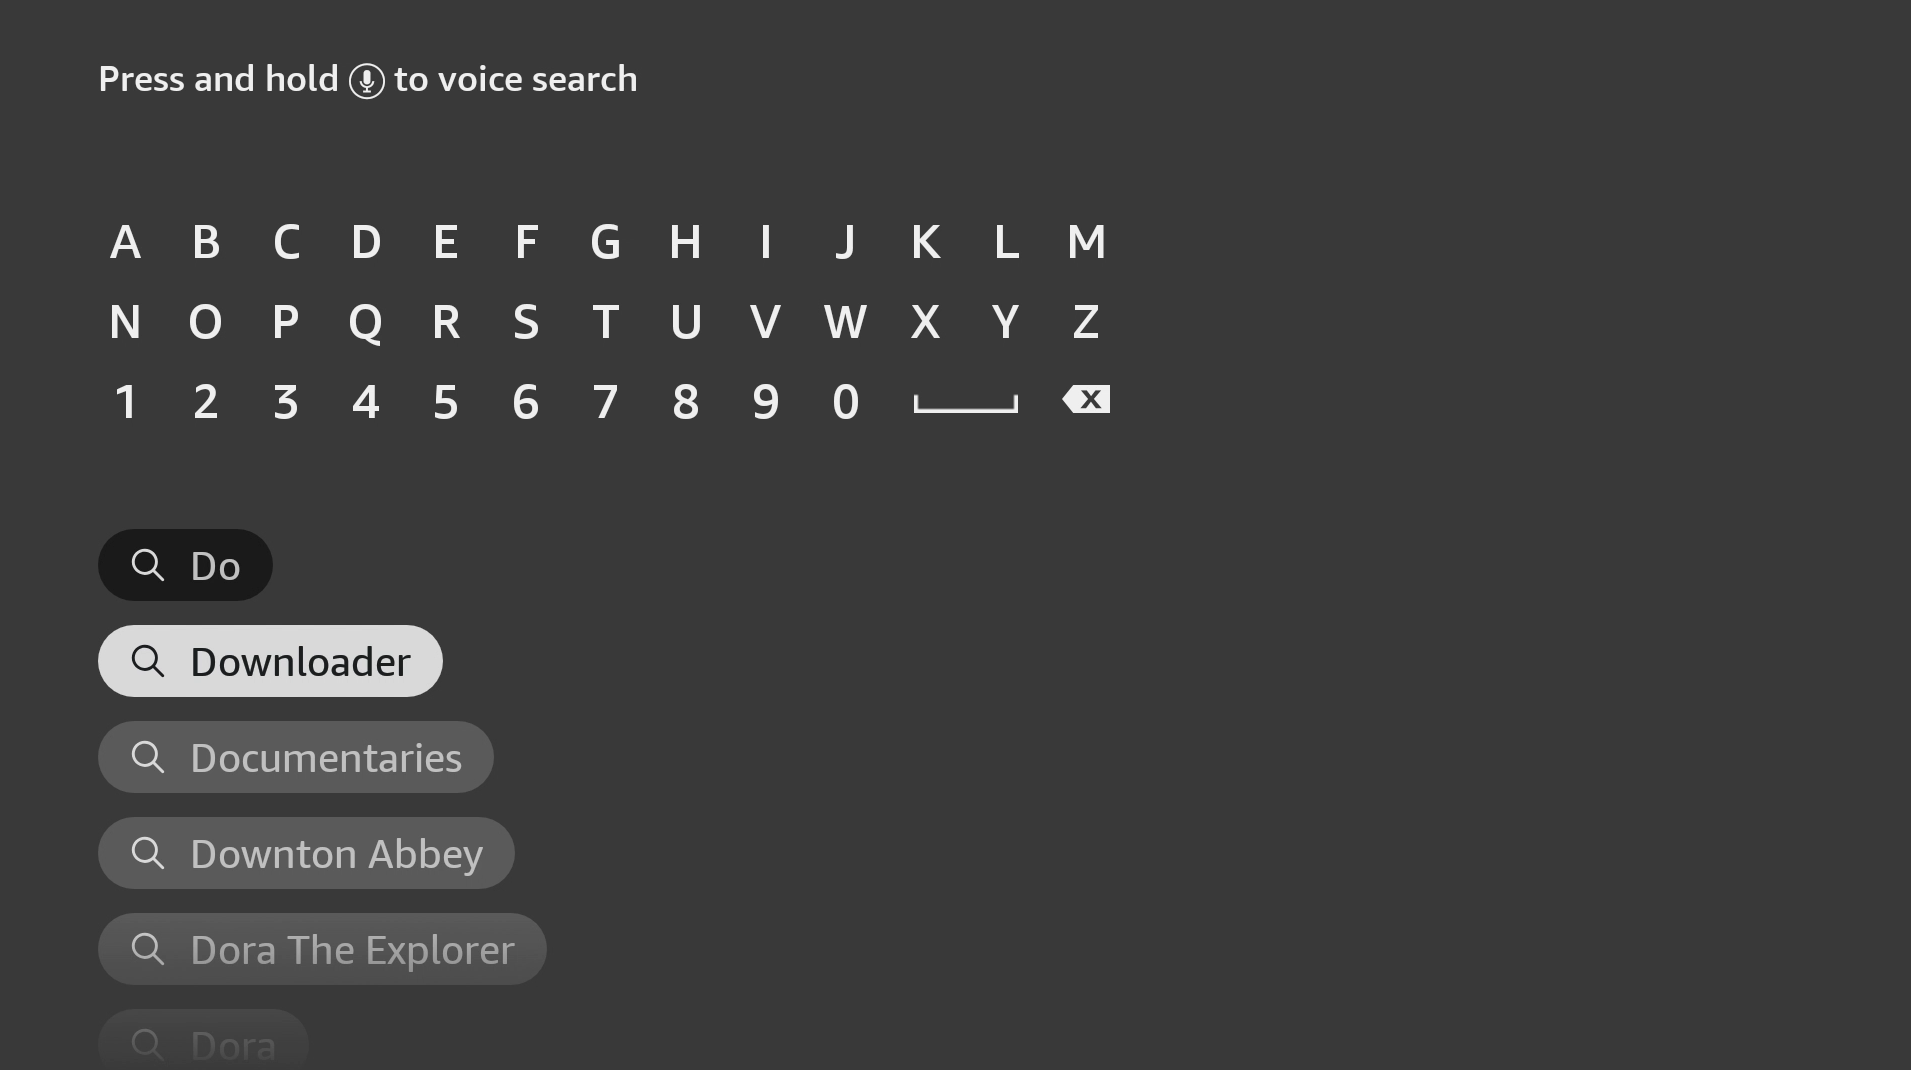
1. Go to Find and then go down to Search.

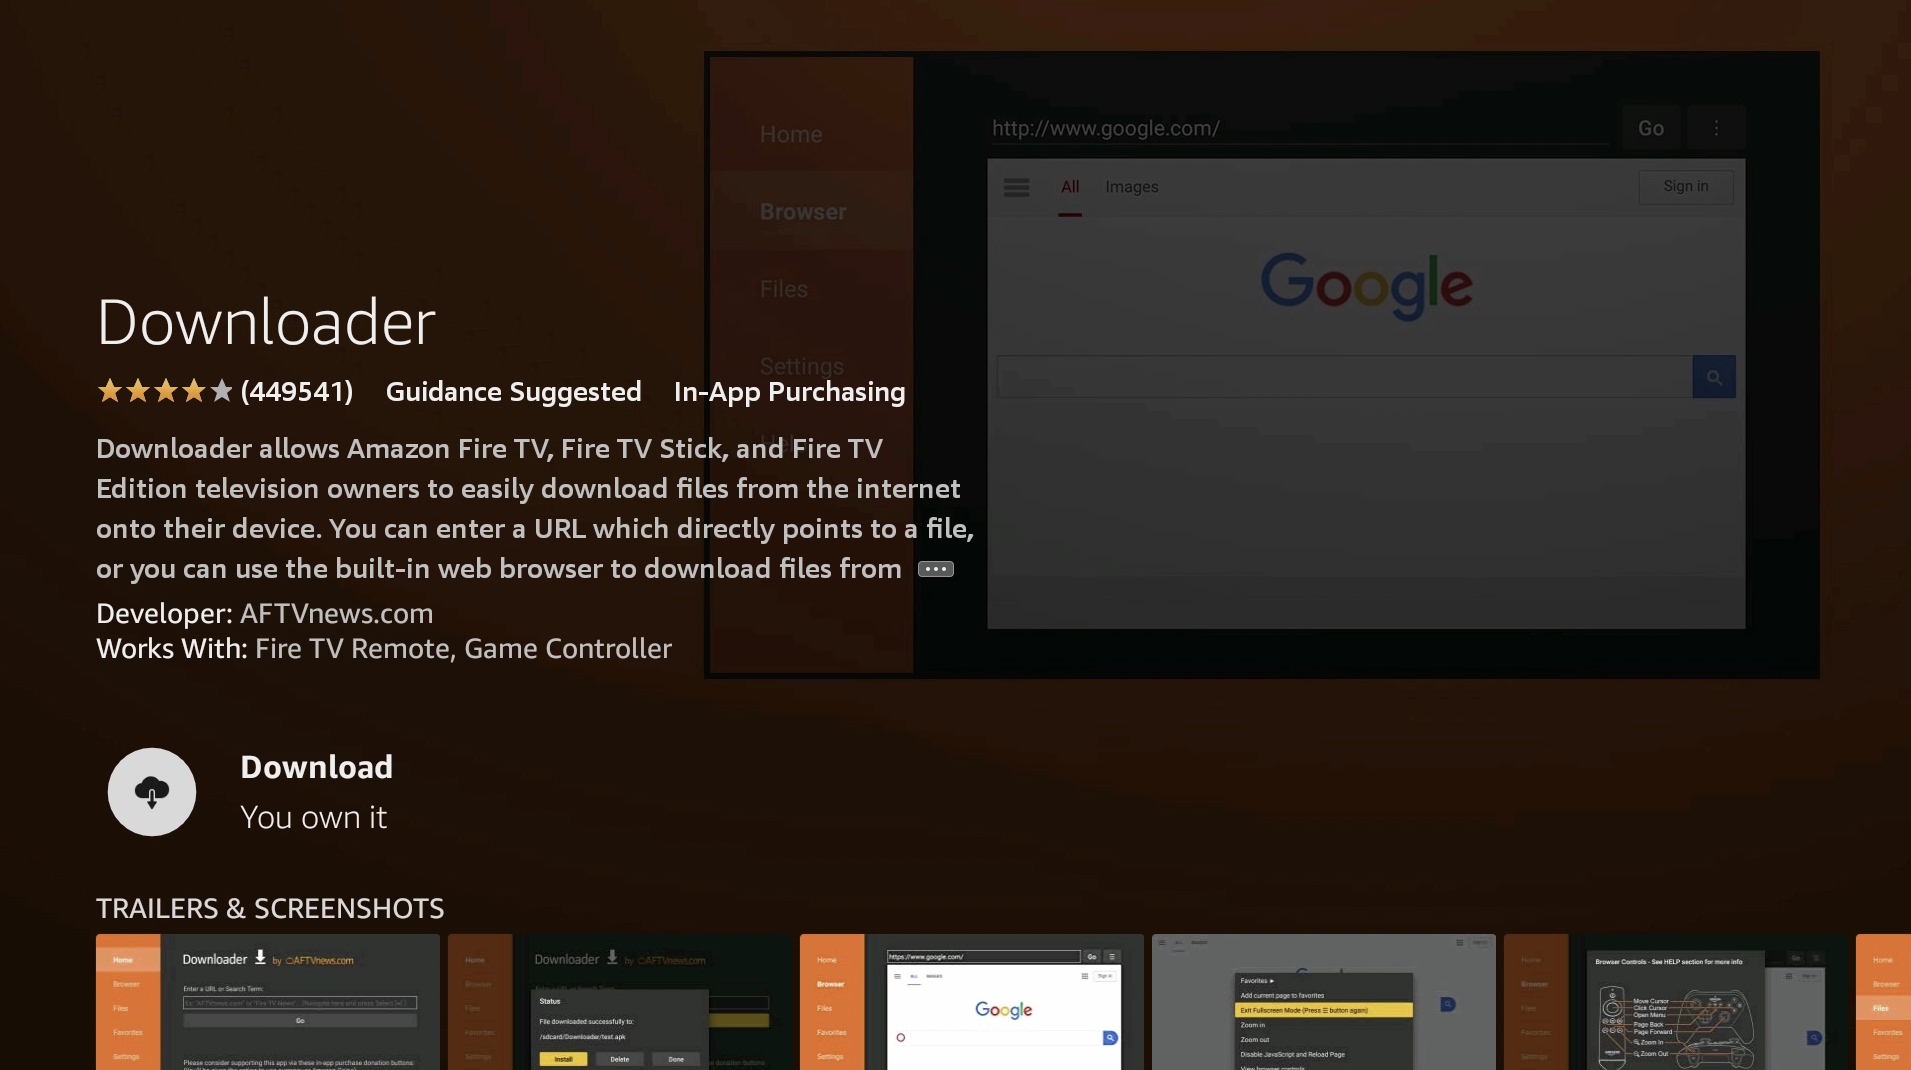
2. Search for “Downloader”.
3. Open Downloader. It should be the first result under Apps & Games.
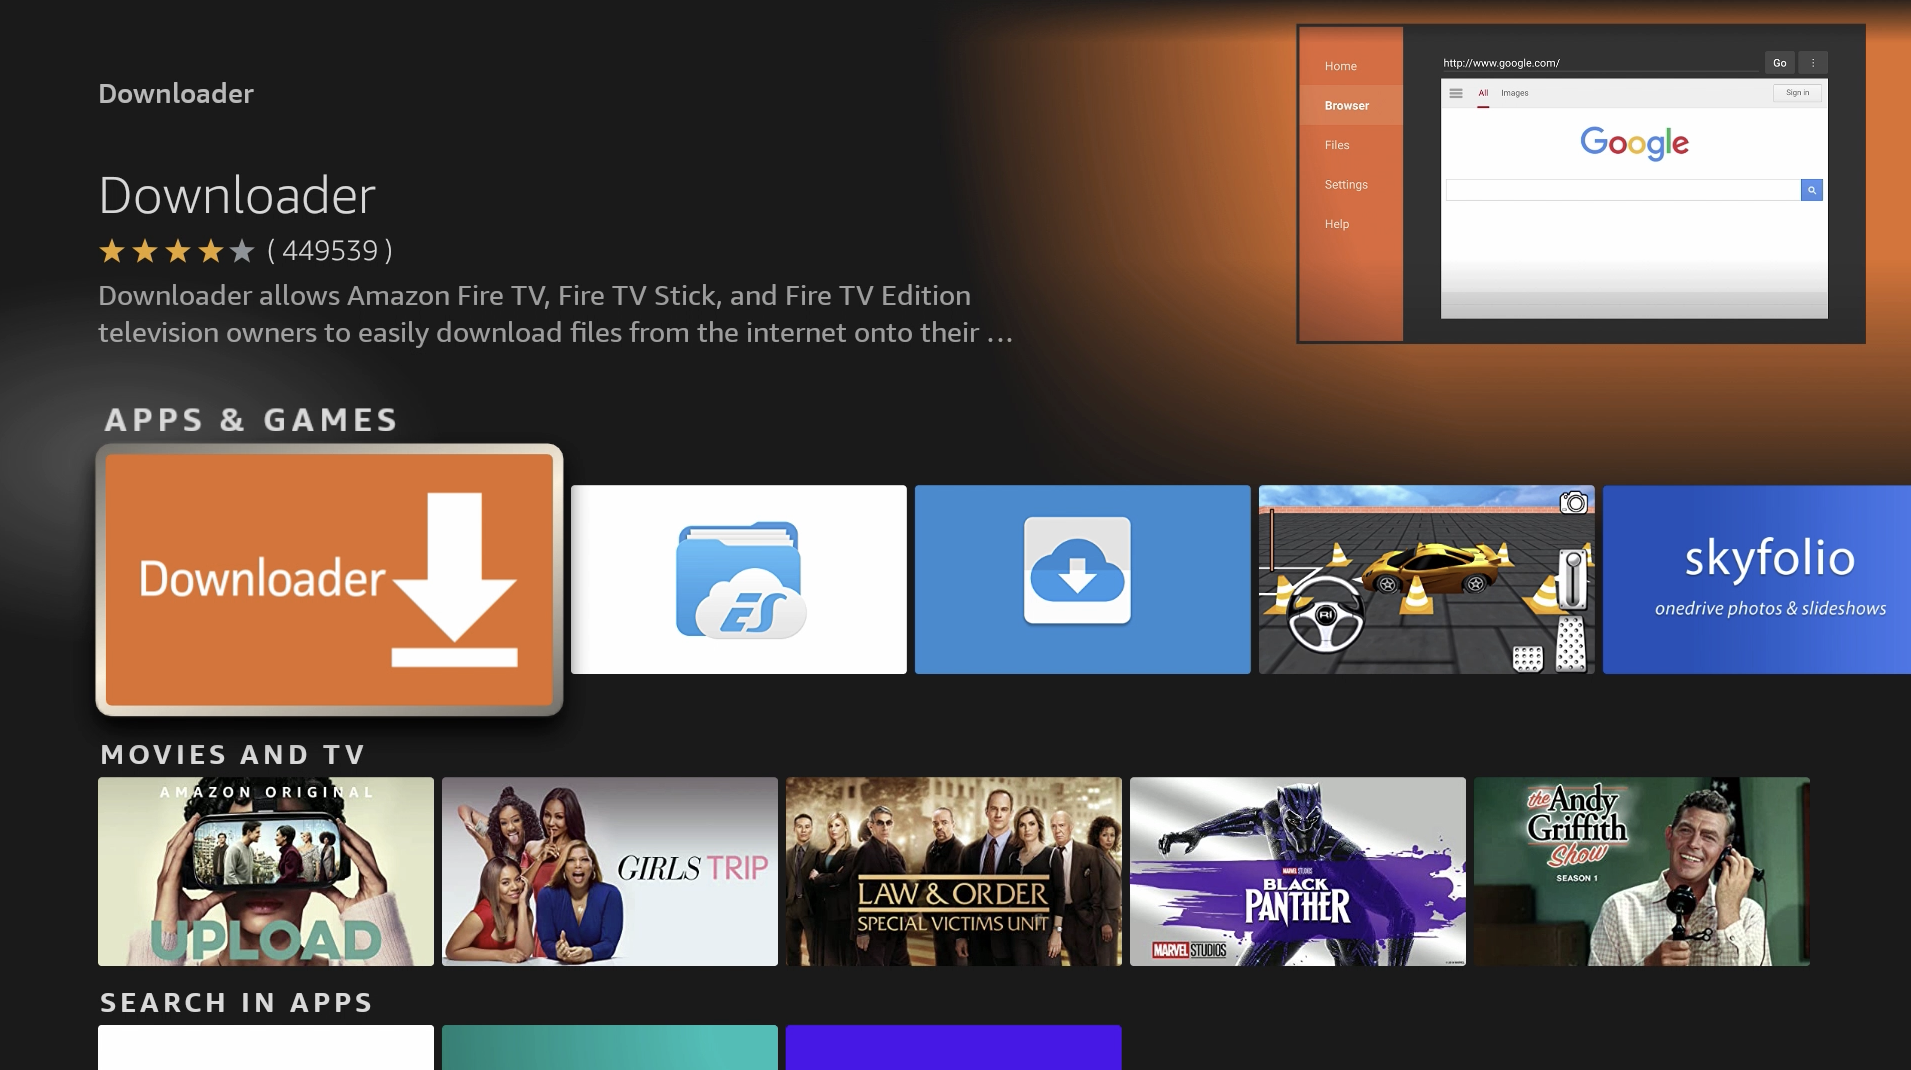
4. Install Downloader.
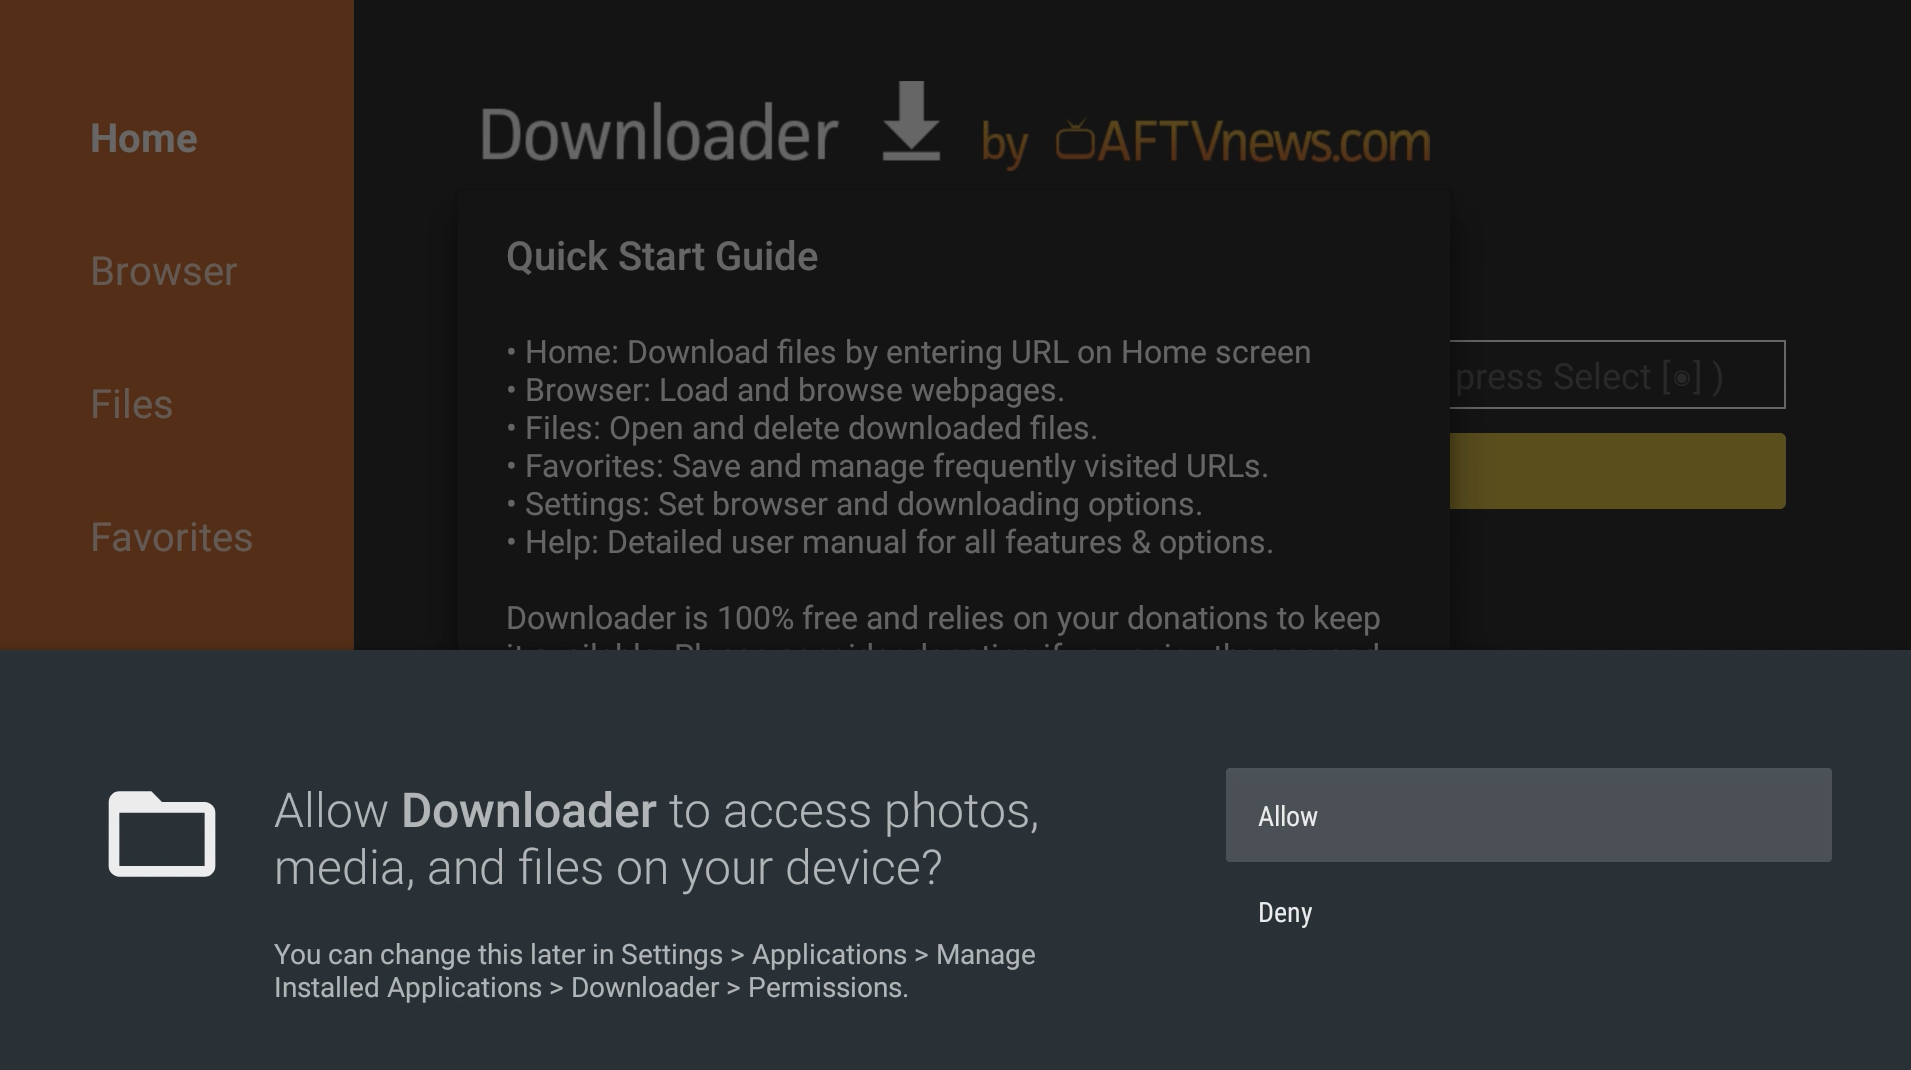
5. After it is finished installing, open Downloader.

6. Allow Downloader permissions and hit OK.
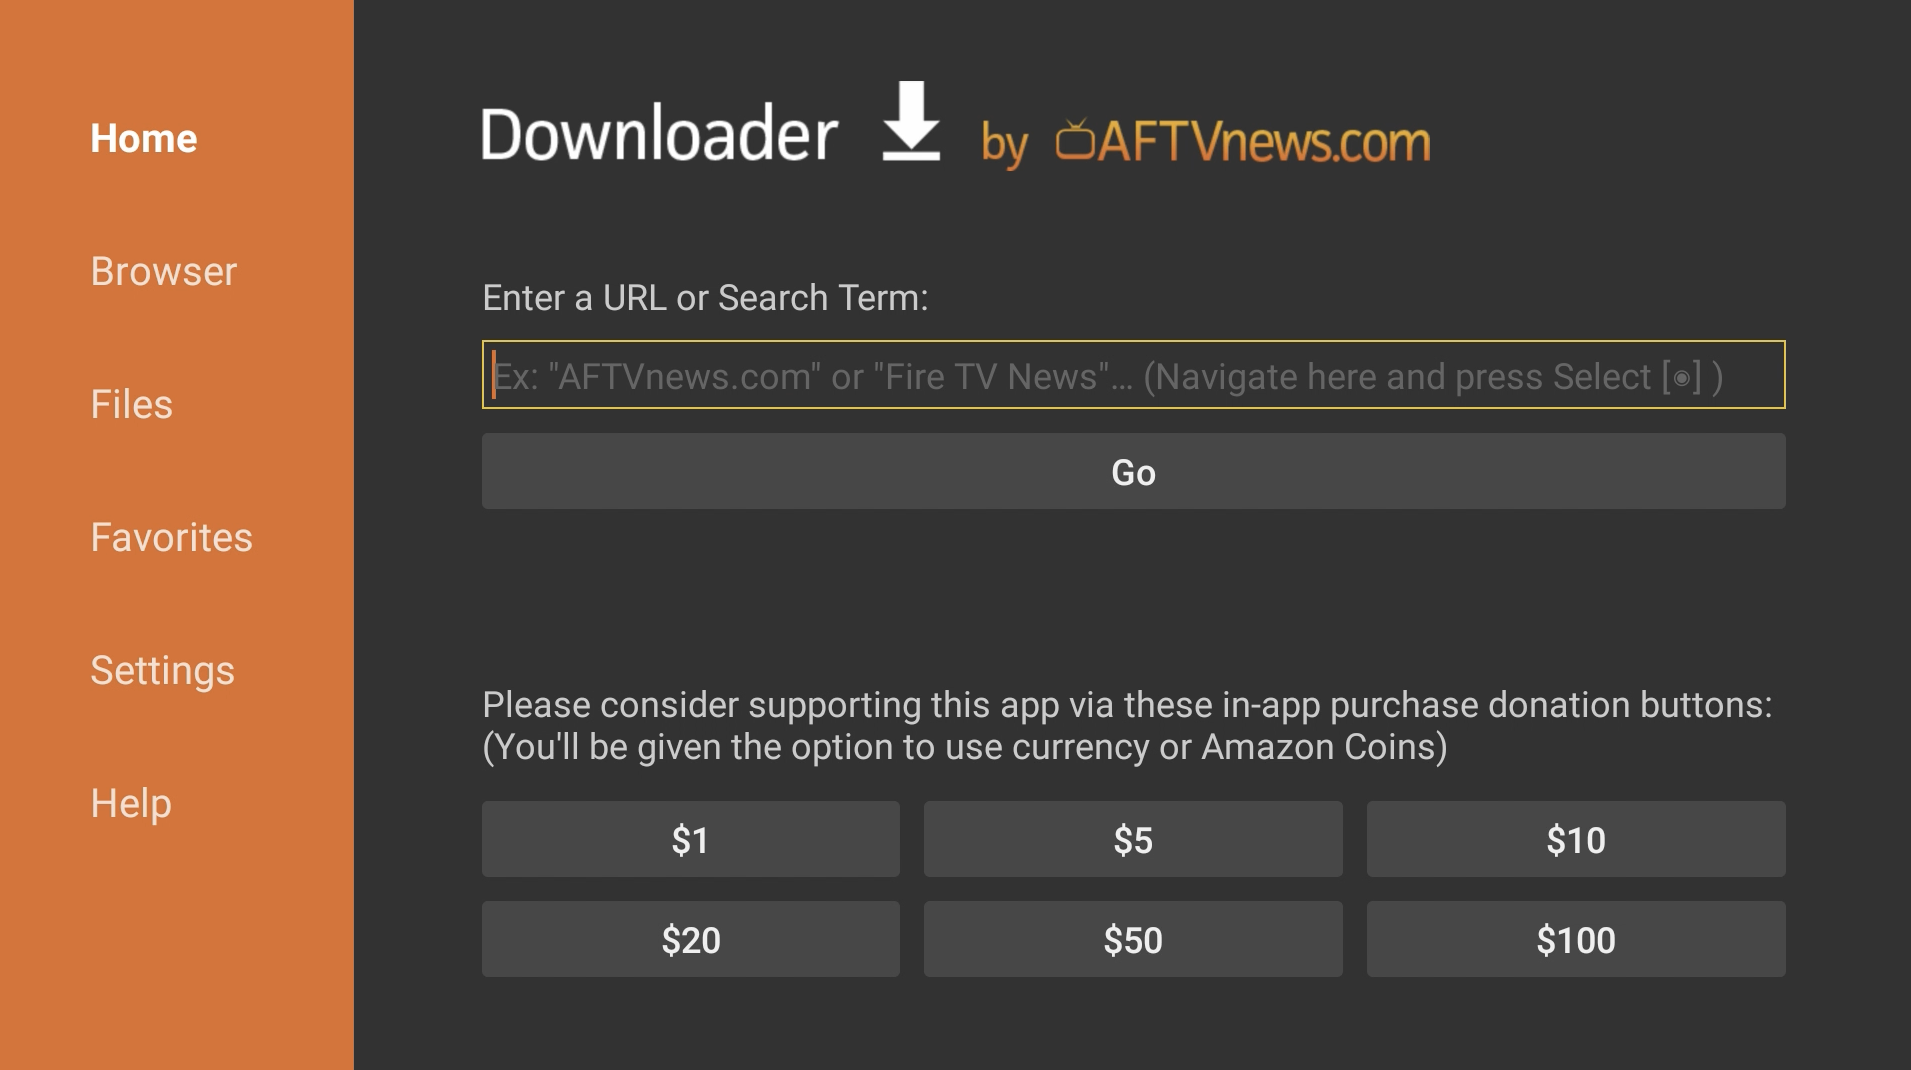
7. Go up to the URL field.
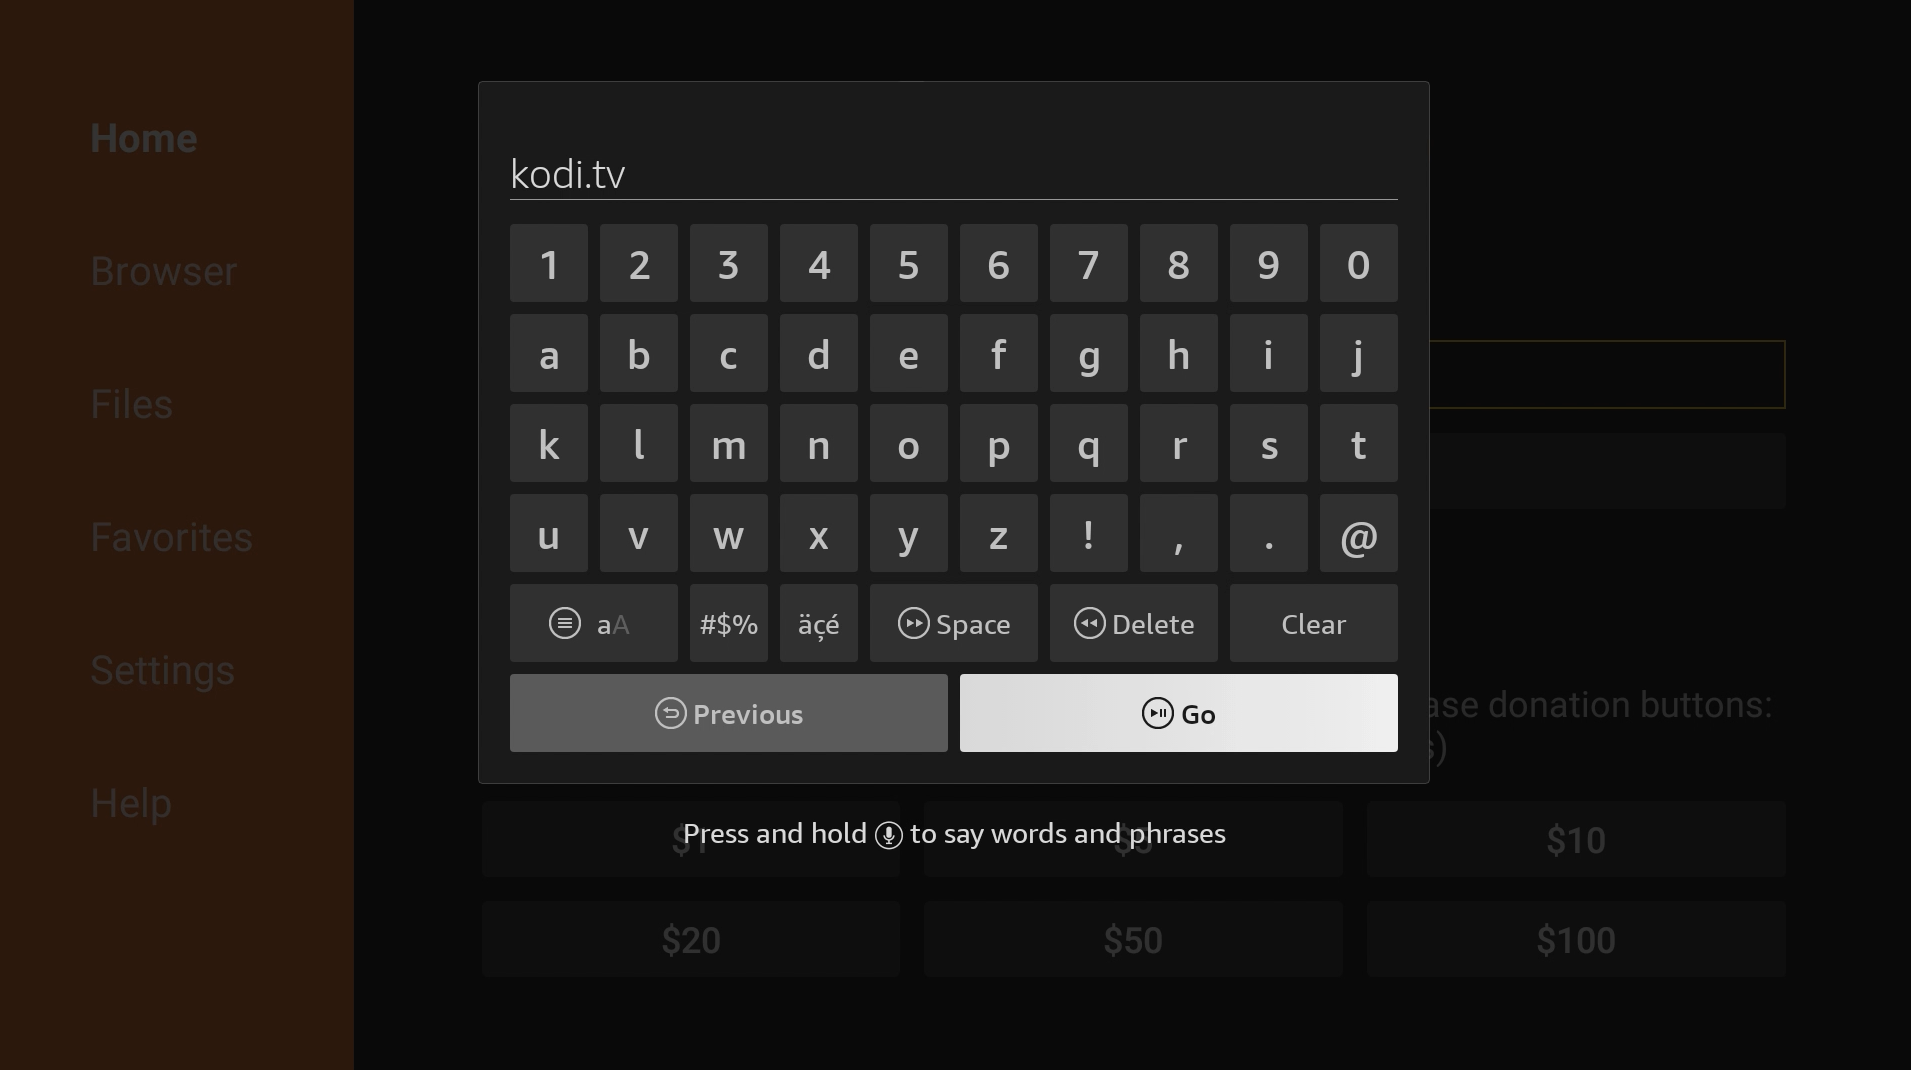
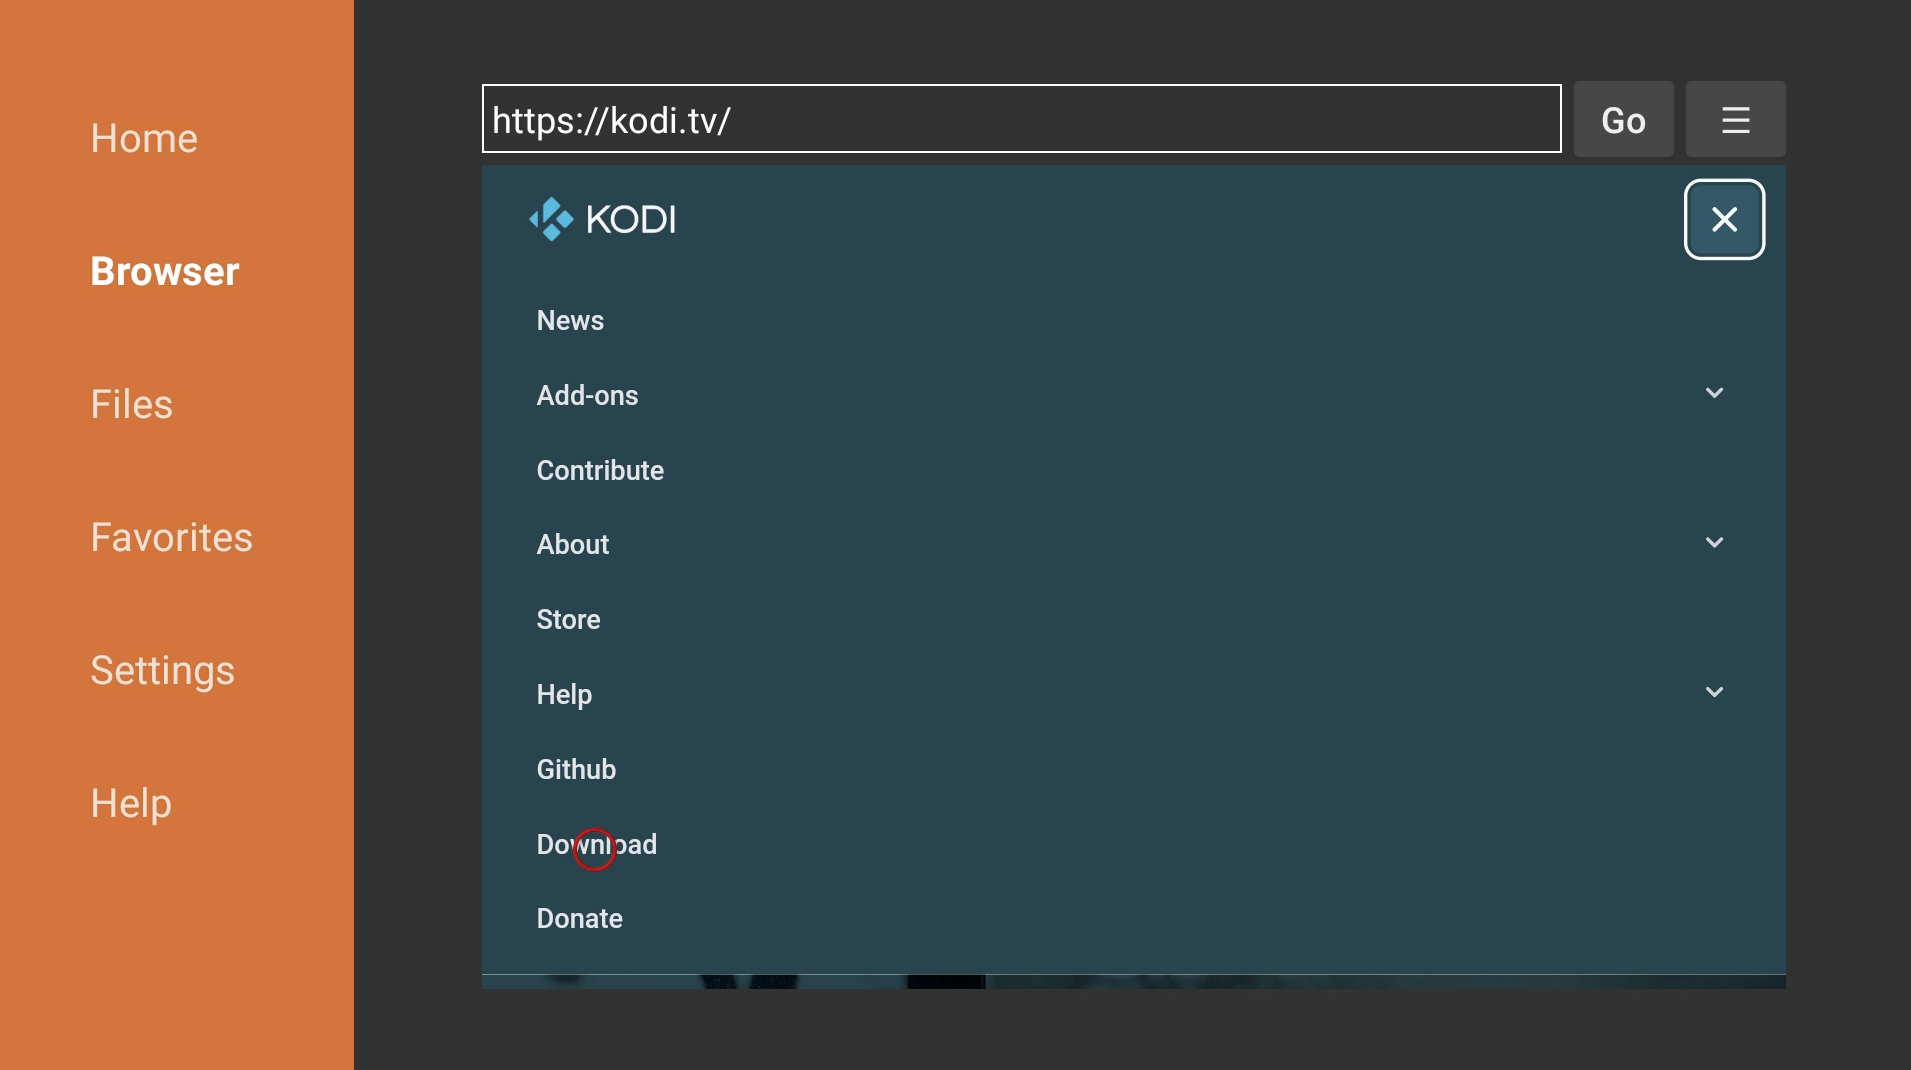
8. Enter kodi.tv and press Go.
9. Click on the three horizontal lines on the top-right corner to open the drop-down menu.

10. Click Download.
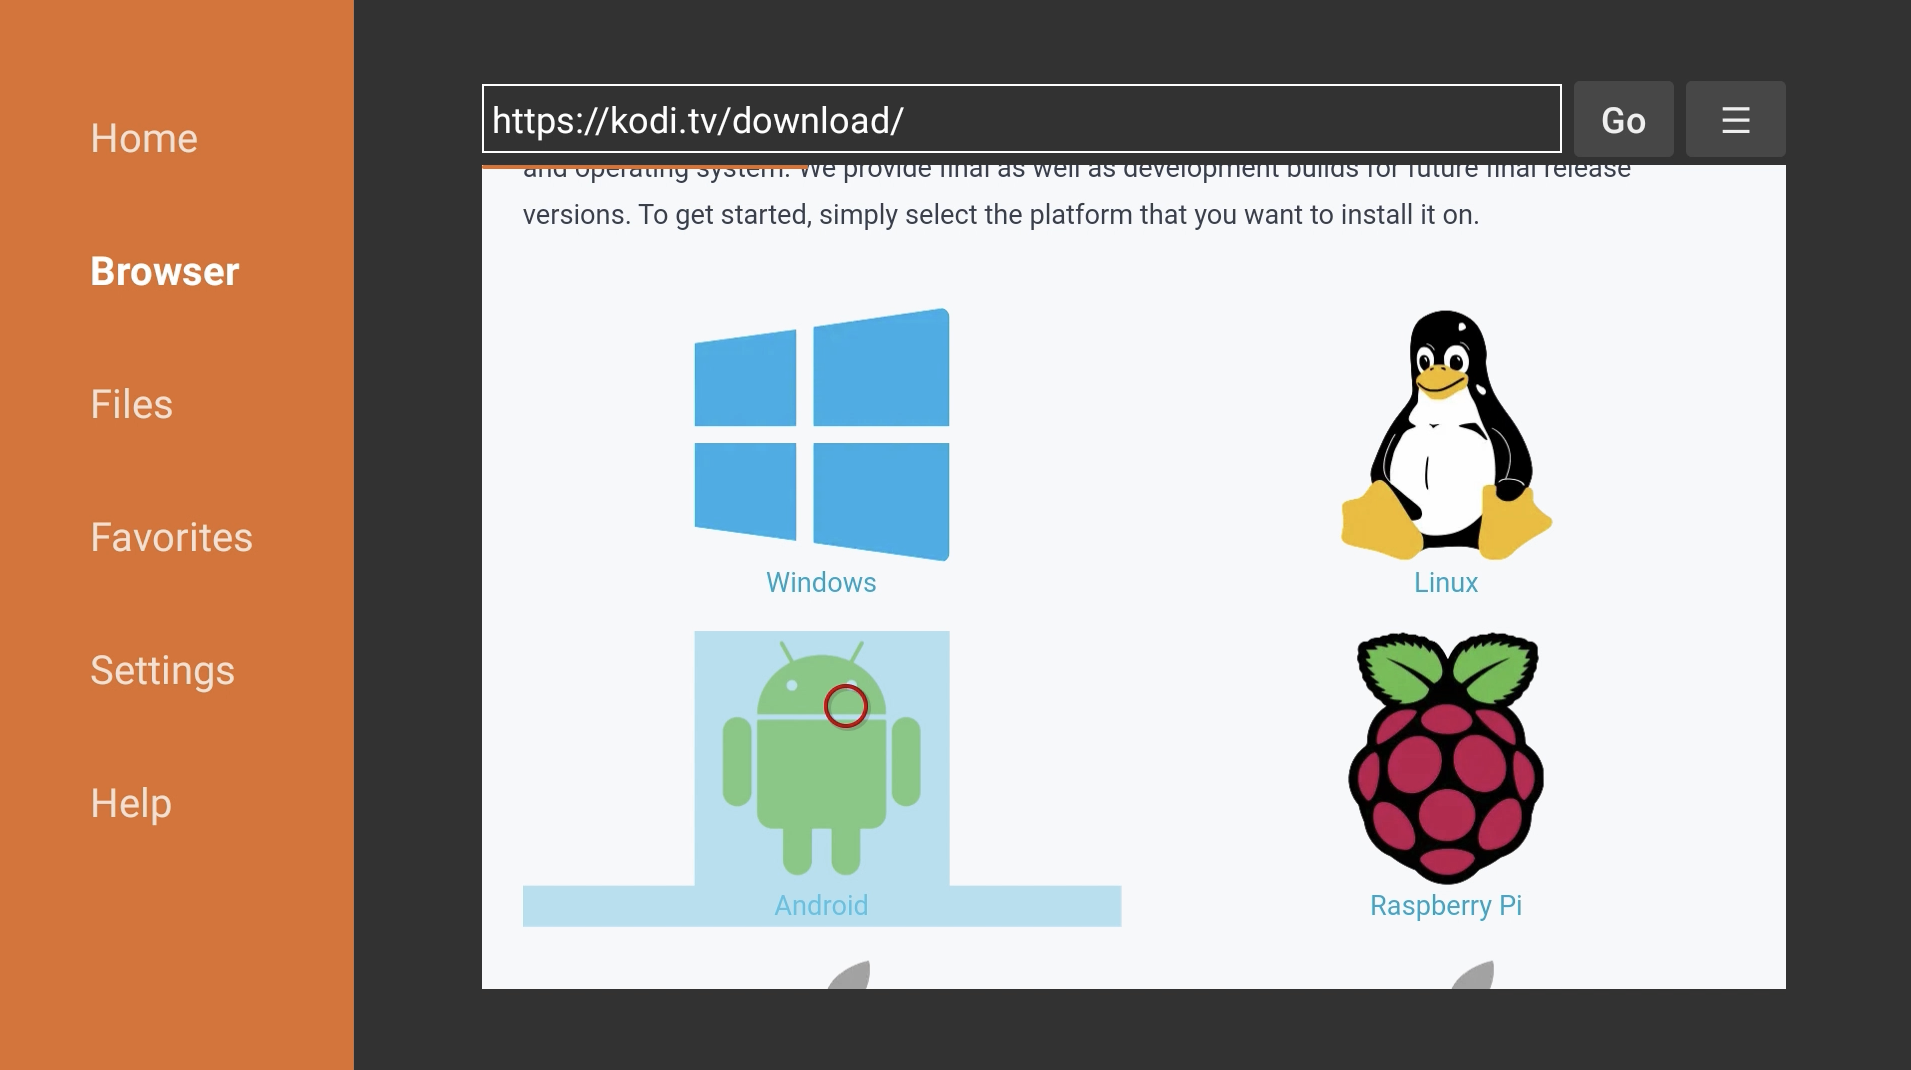
11. Scroll down and click Android.
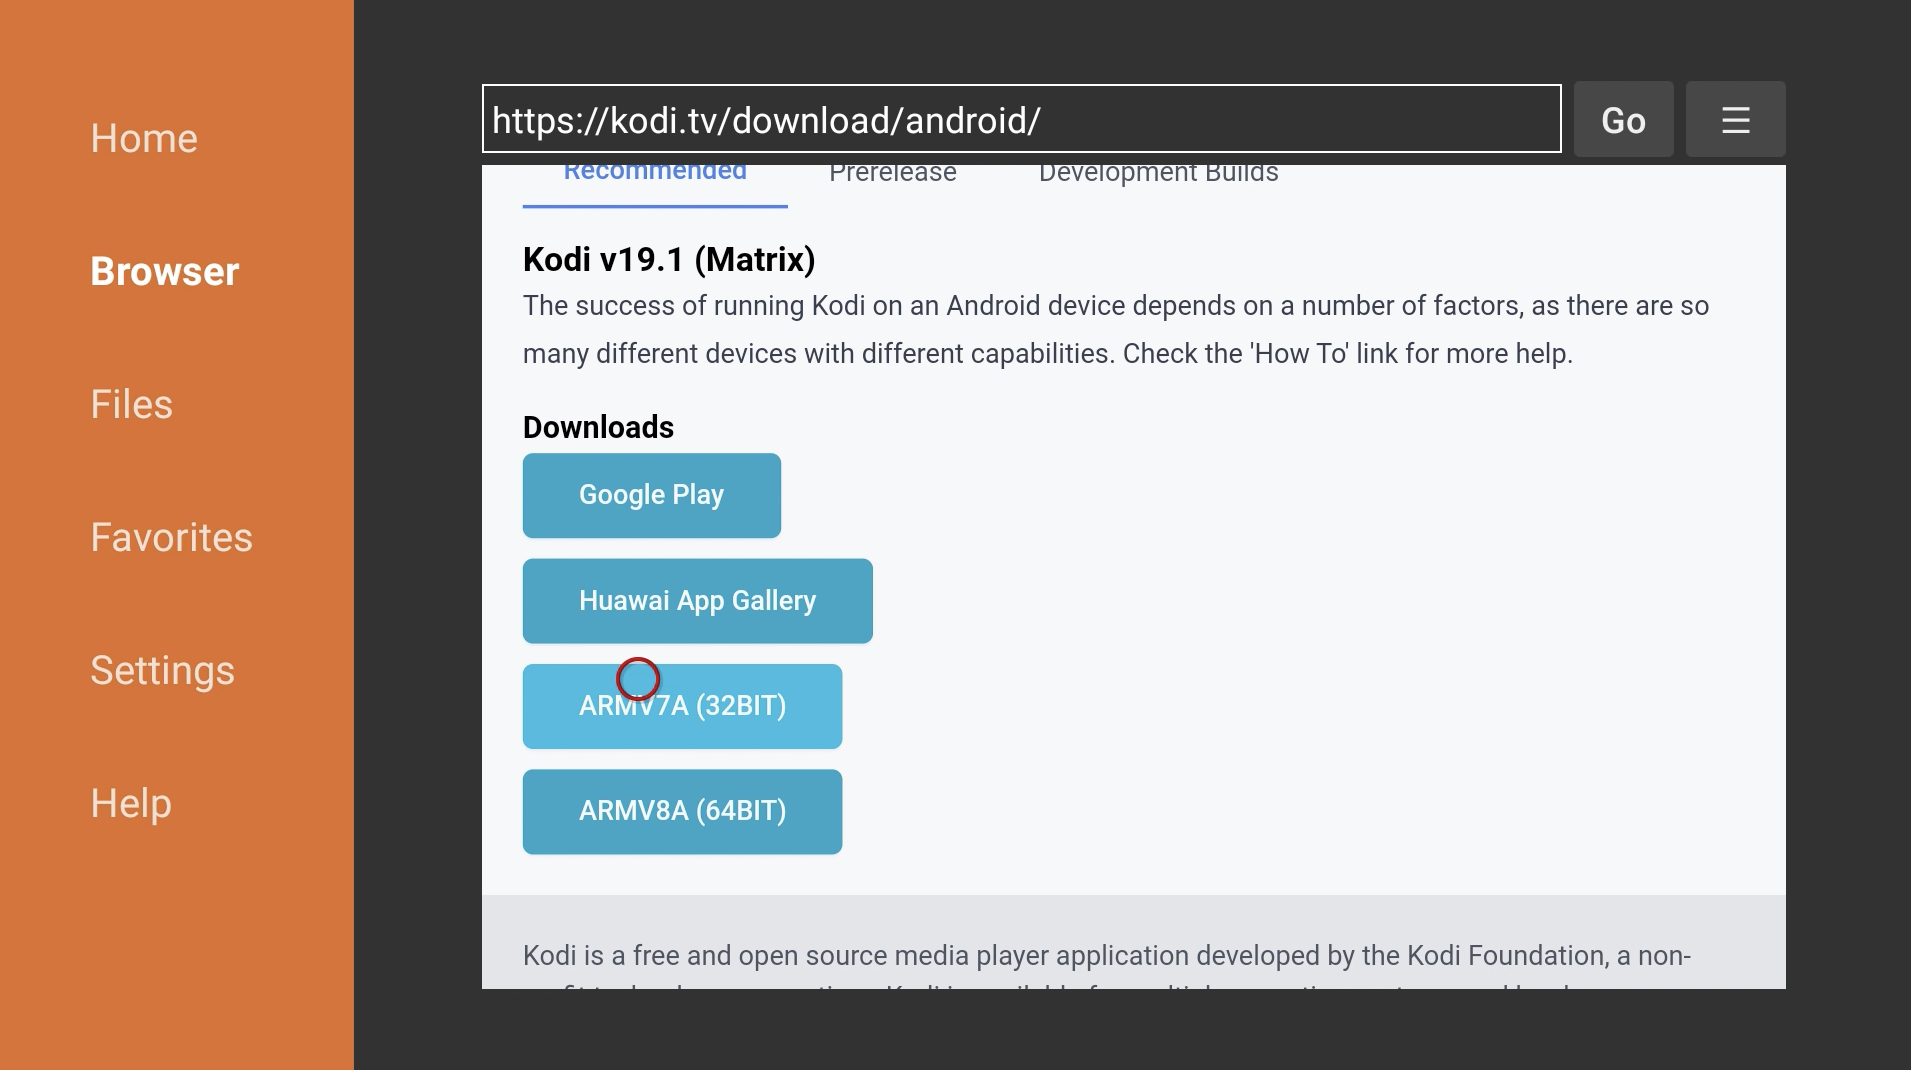
12. Scroll down and click on either ARMV7A (32BIT) or ARMV8A (64BIT) depending on which Fire TV device you are using. If you are using a Fire TV Stick 4K or Fire TV Cube, download the ARMV8A (64BIT) version, otherwise download the ARMV7A (32BIT) version.
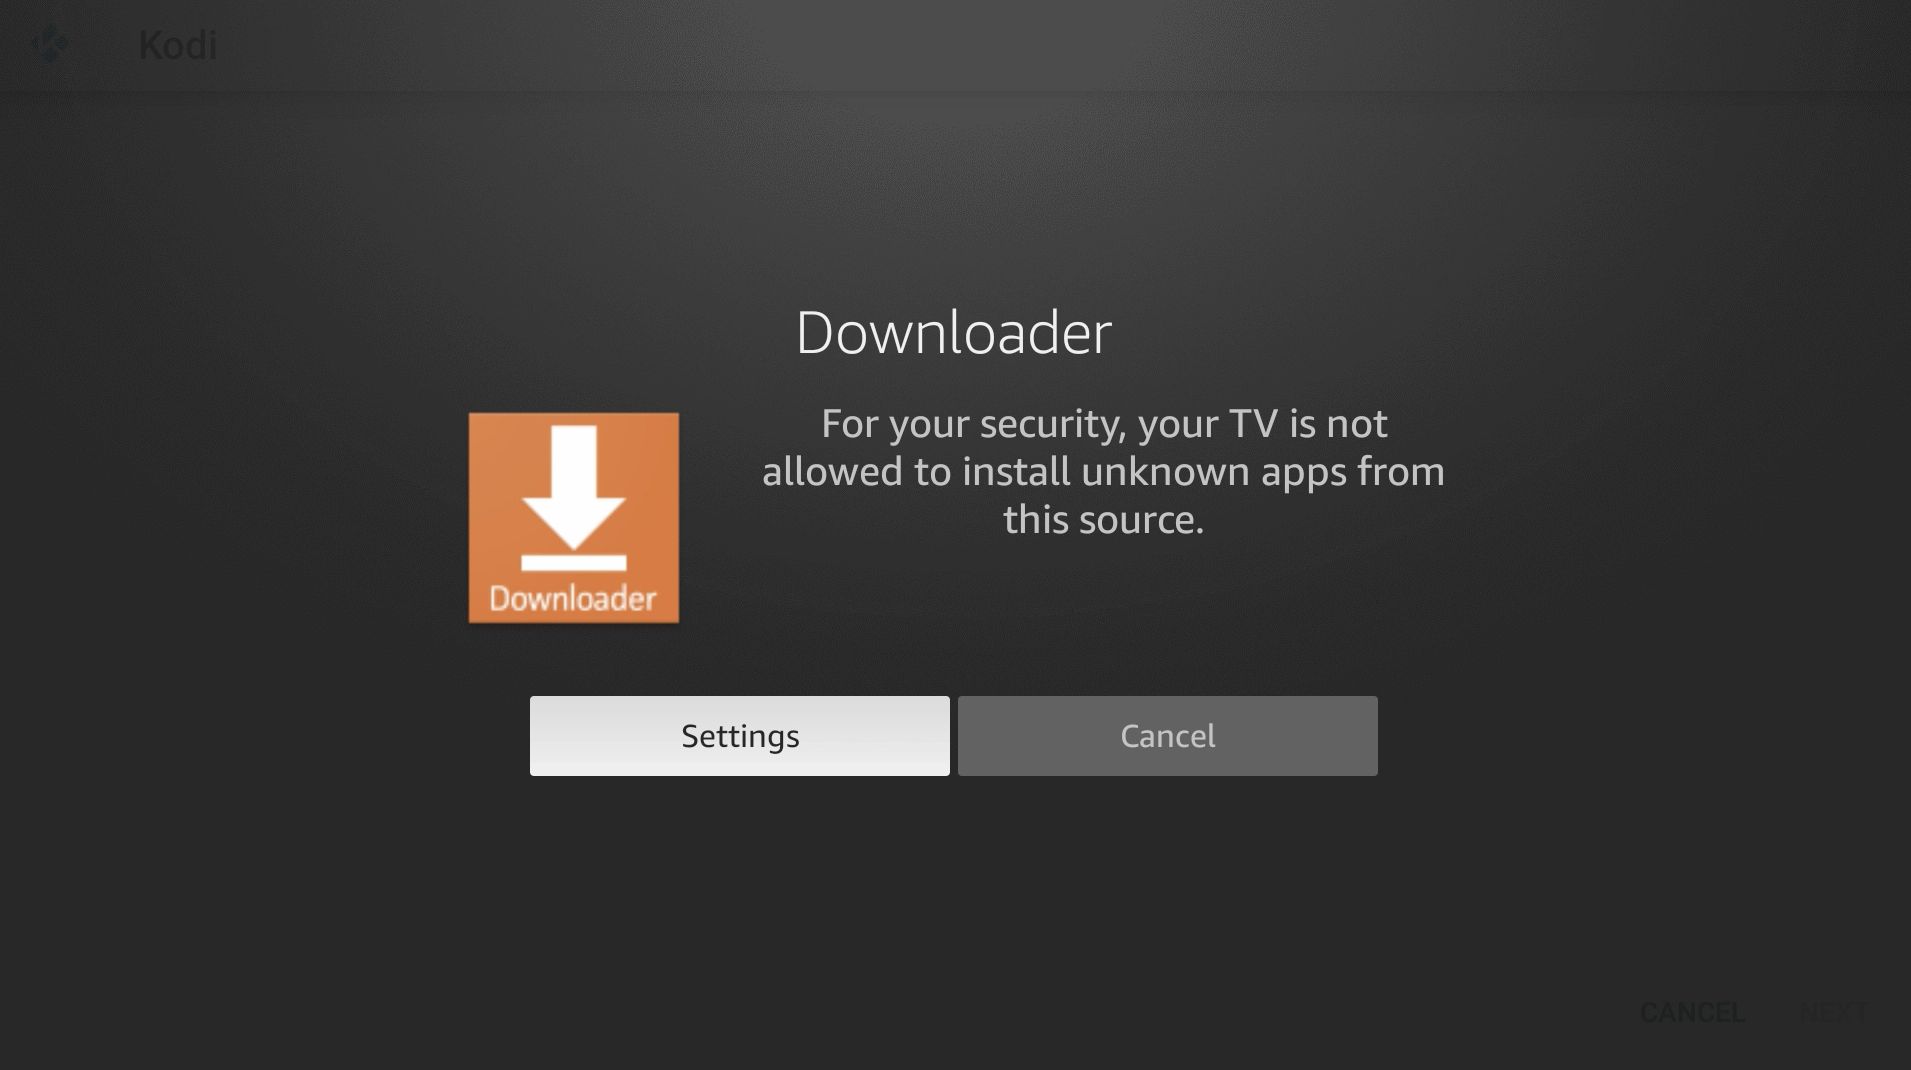
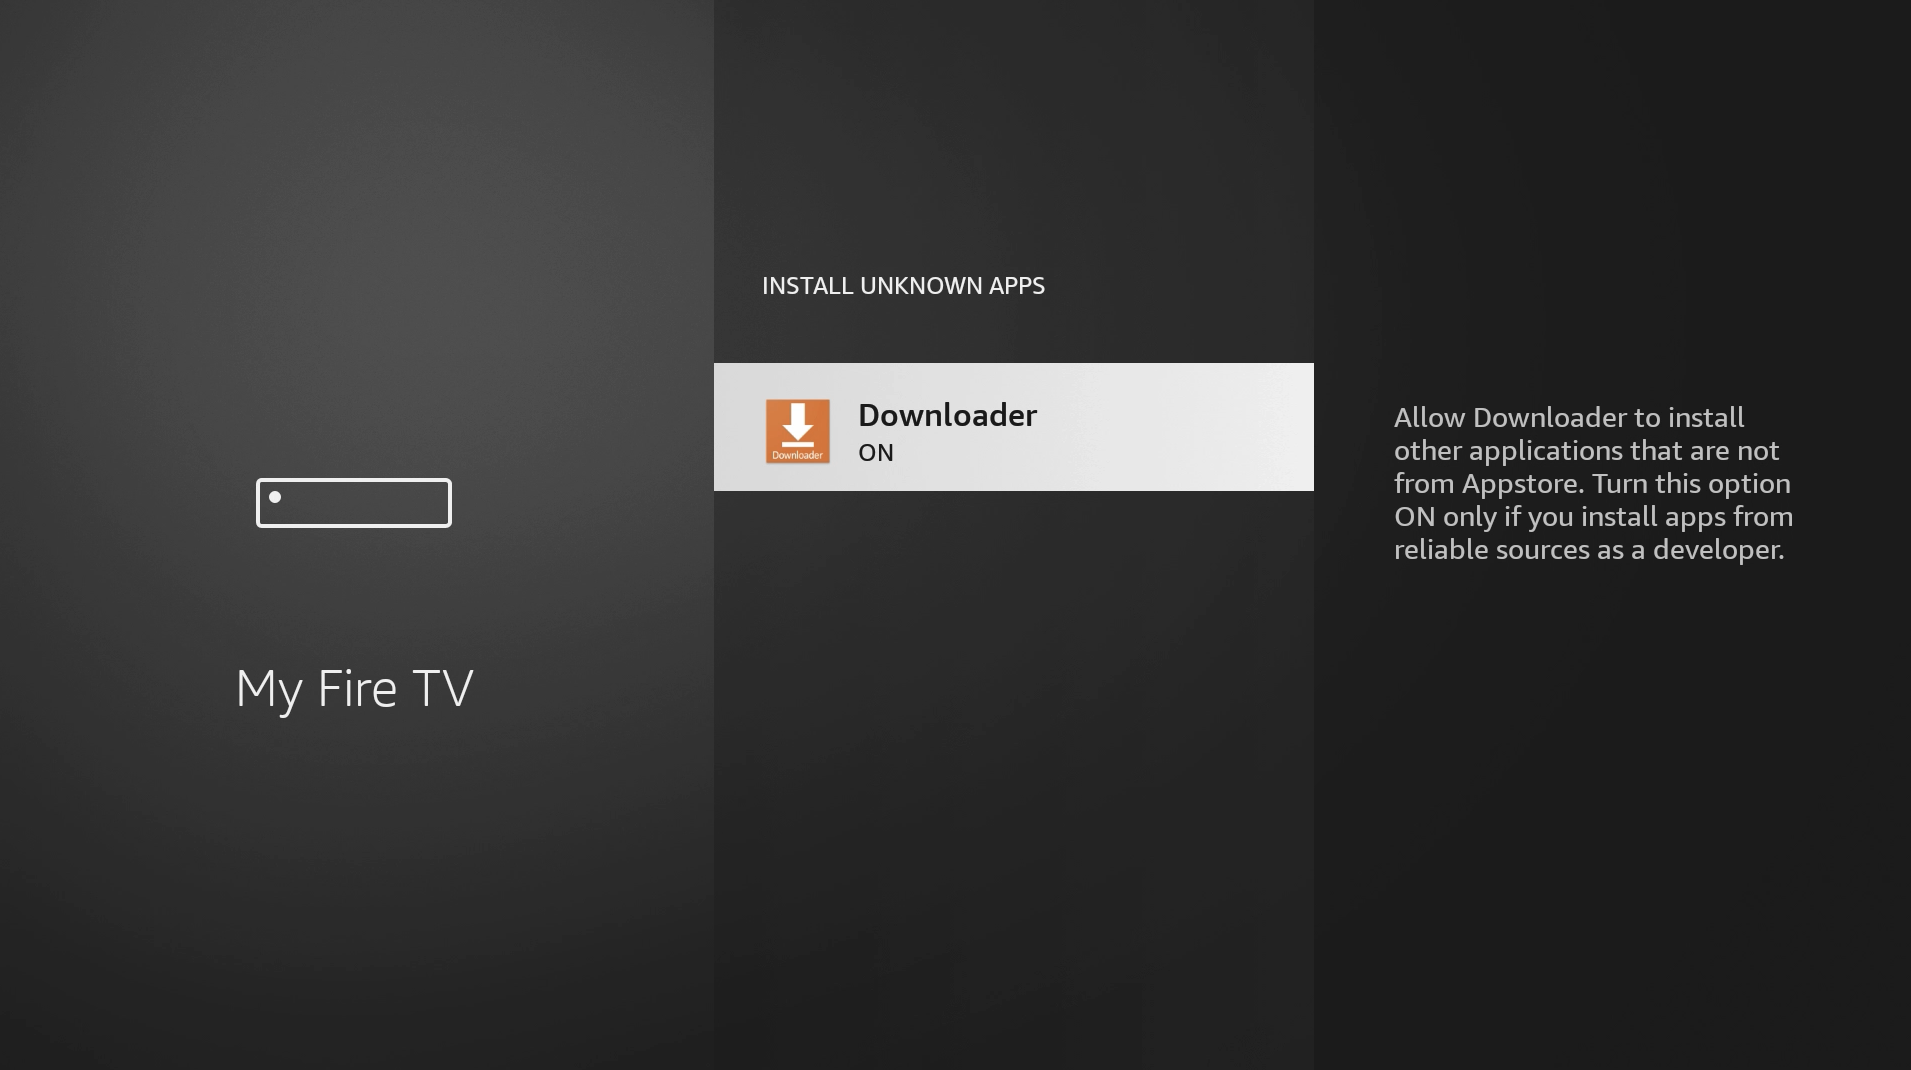
13. If you are prompted with a security message, go to Settings.
14. Go to Install unknown apps.

15. Turn on Install Unknown Apps for Downloader.
16. Press back on your remote two times to return to Downloader. It may take a few seconds.
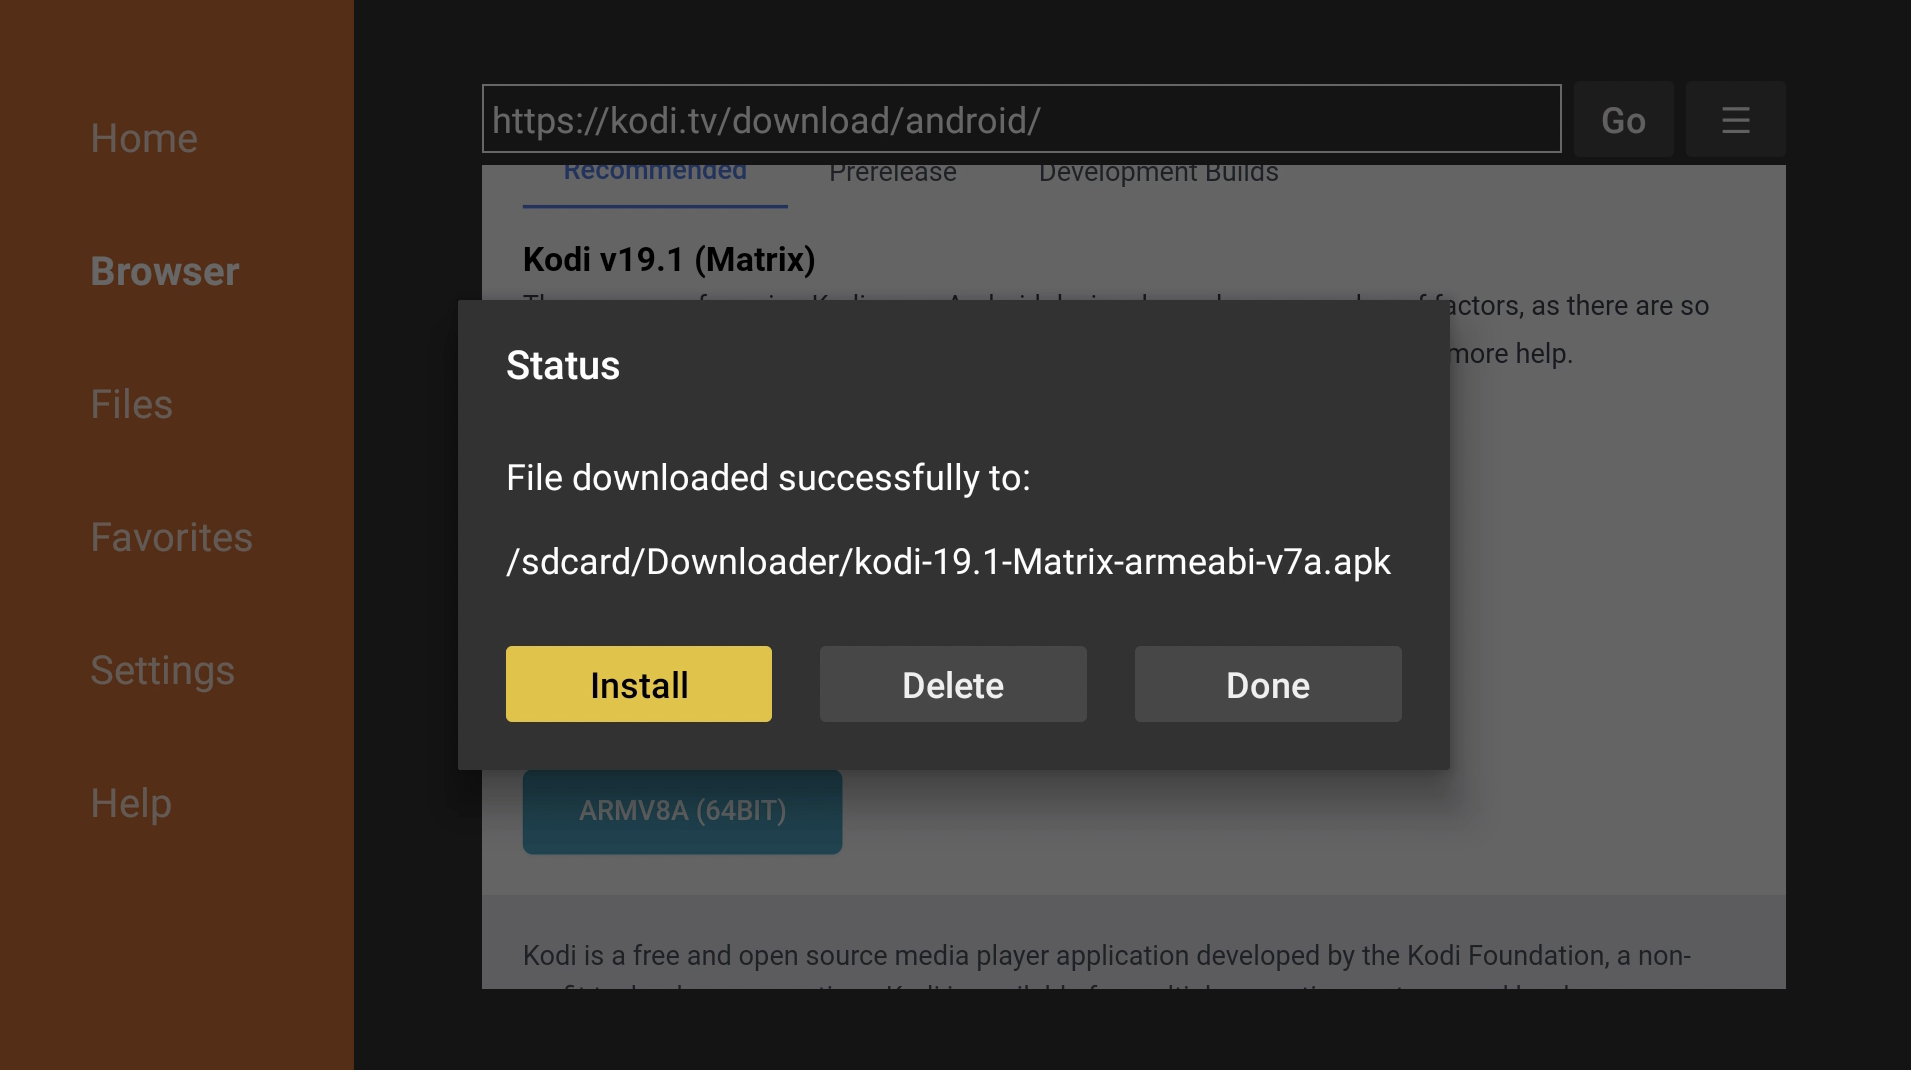
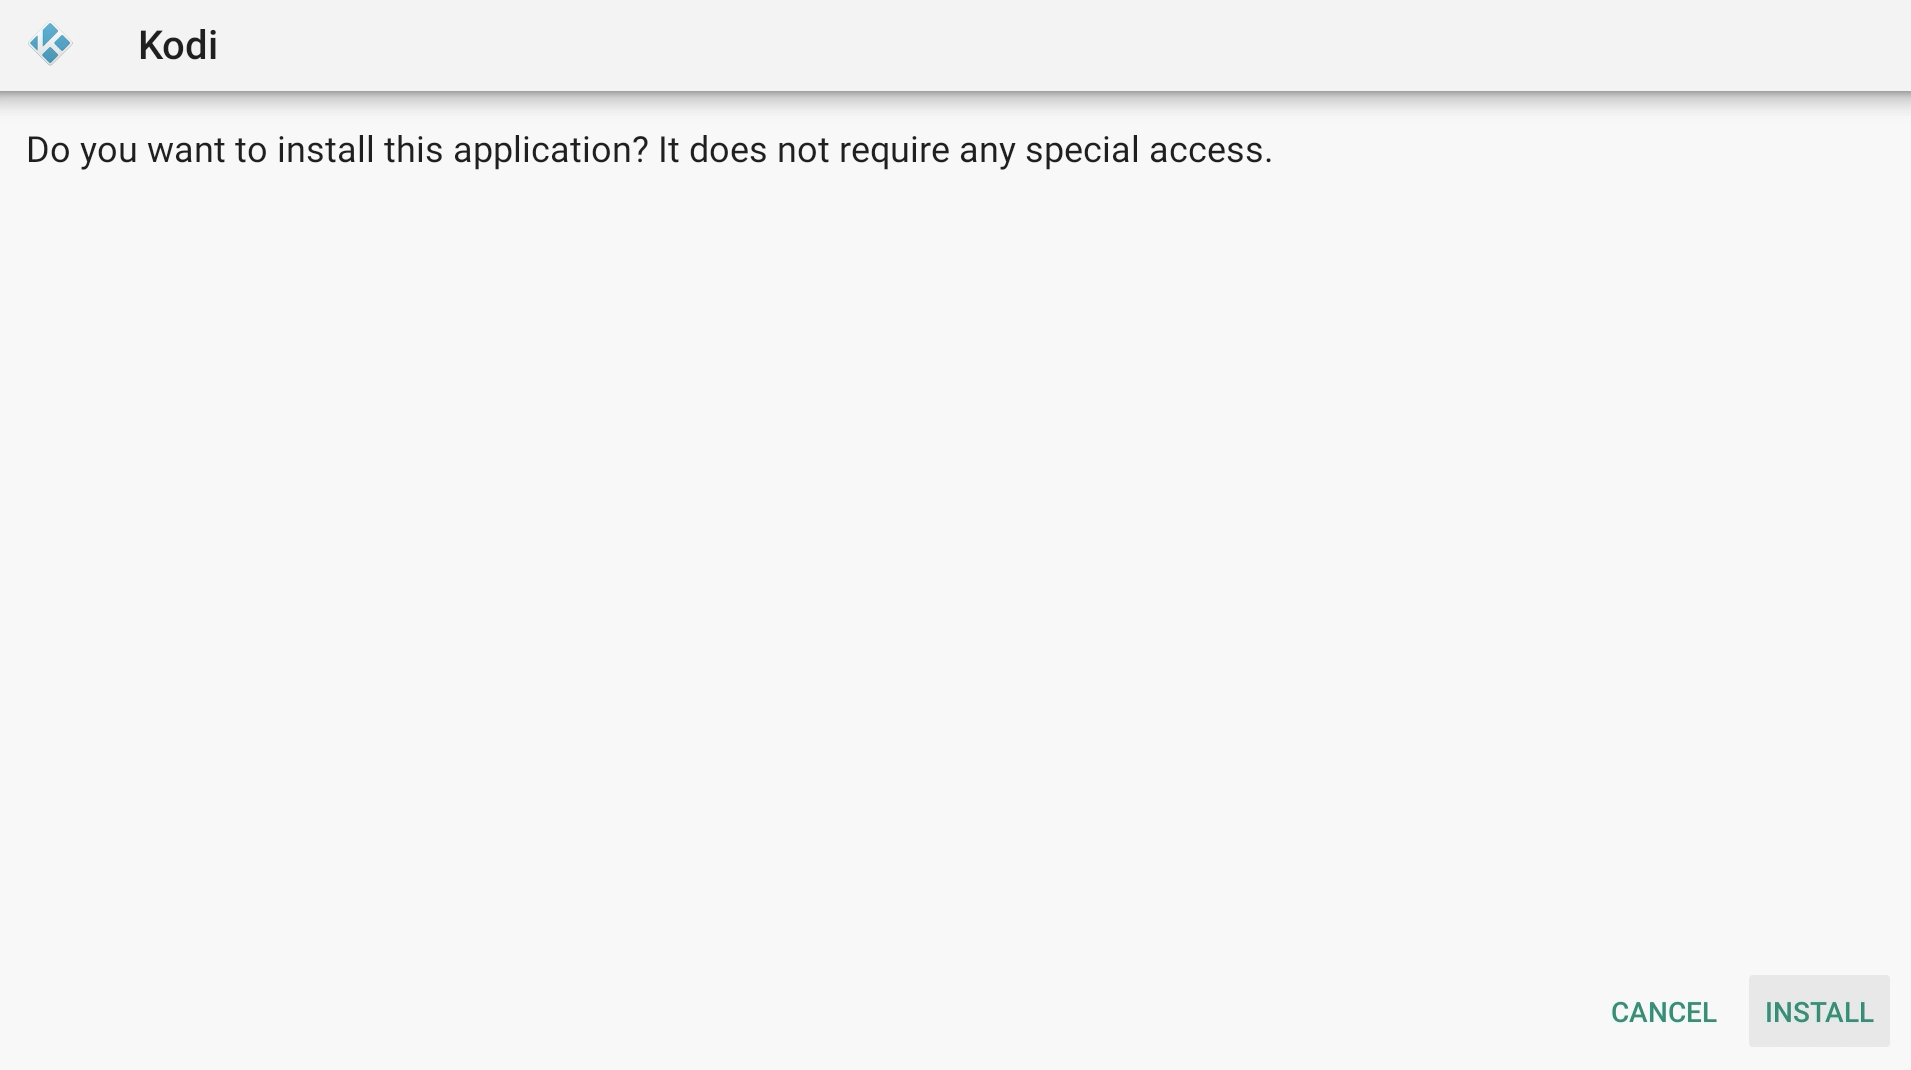
17. Press Install.
18. Press Install again.
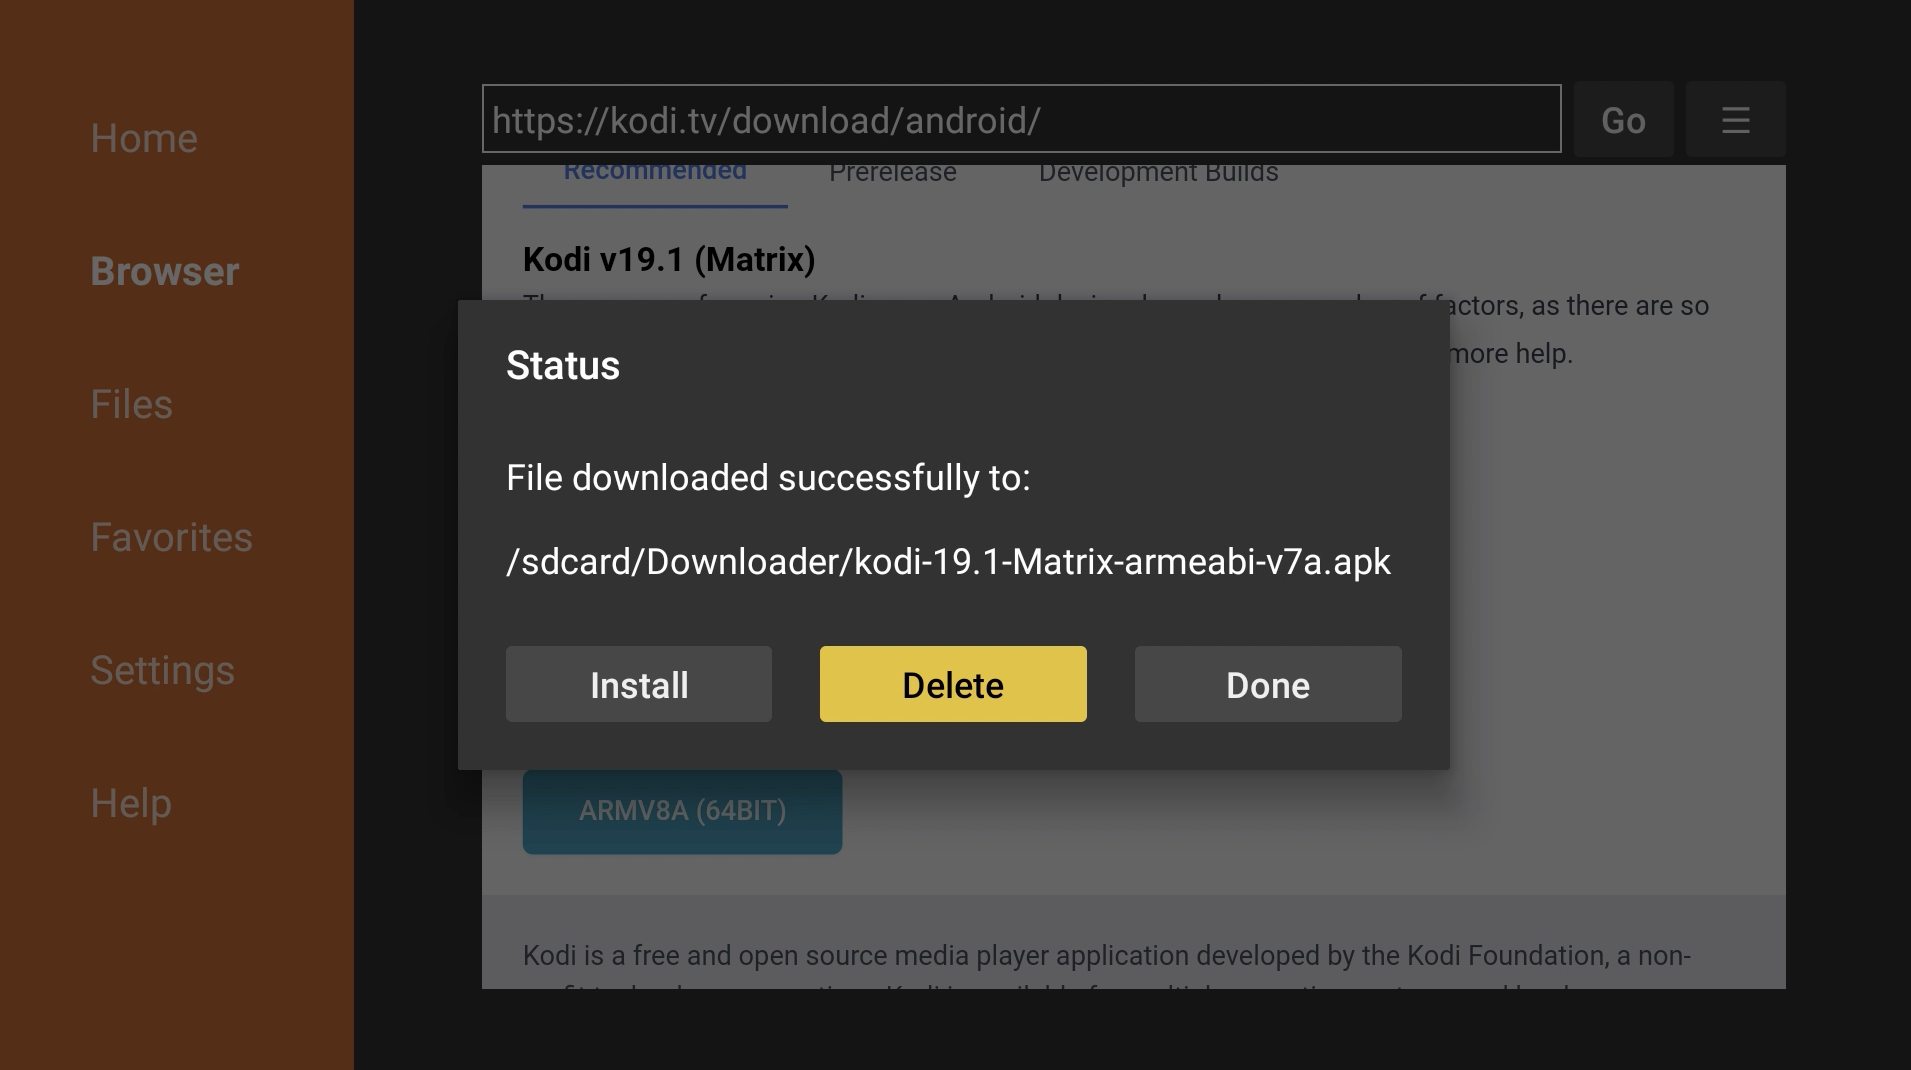
19. Once it is done installing, hit Done. You can now delete the downloaded installation file since we no longer need it.
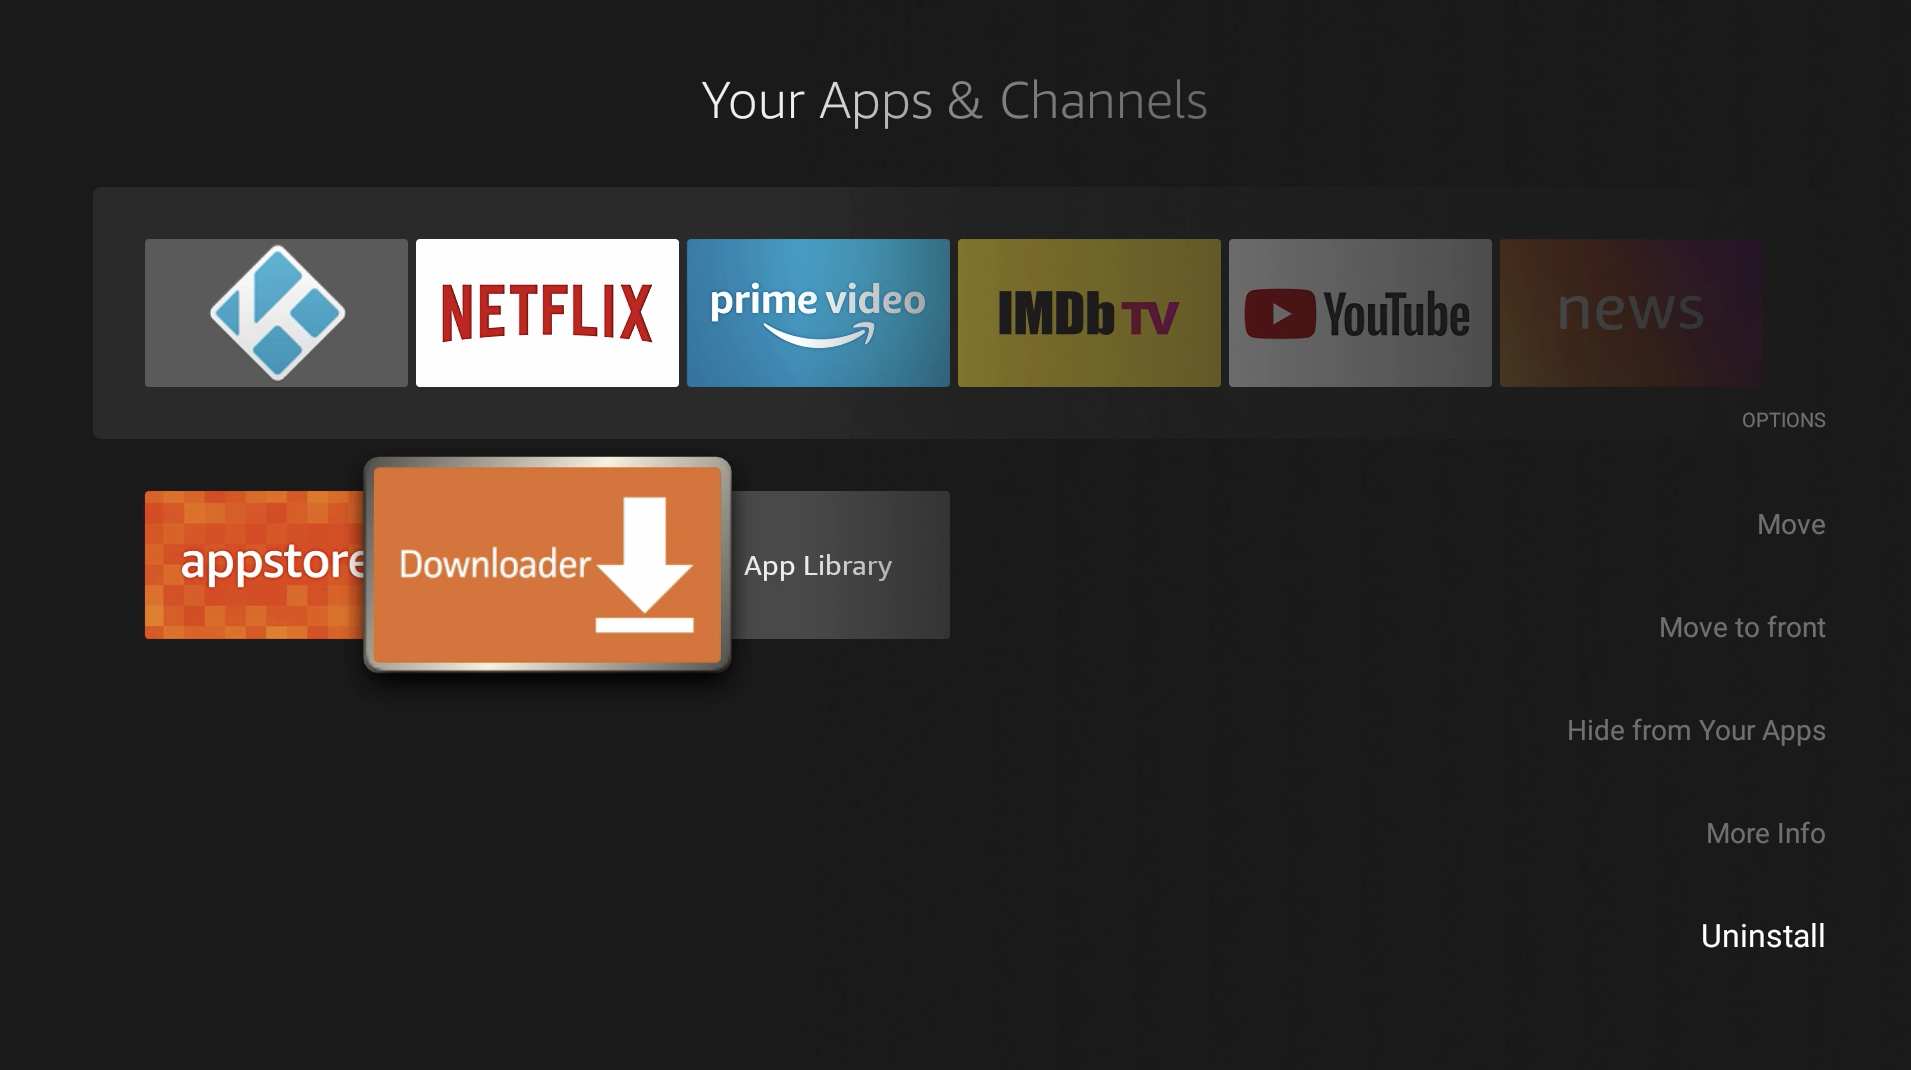
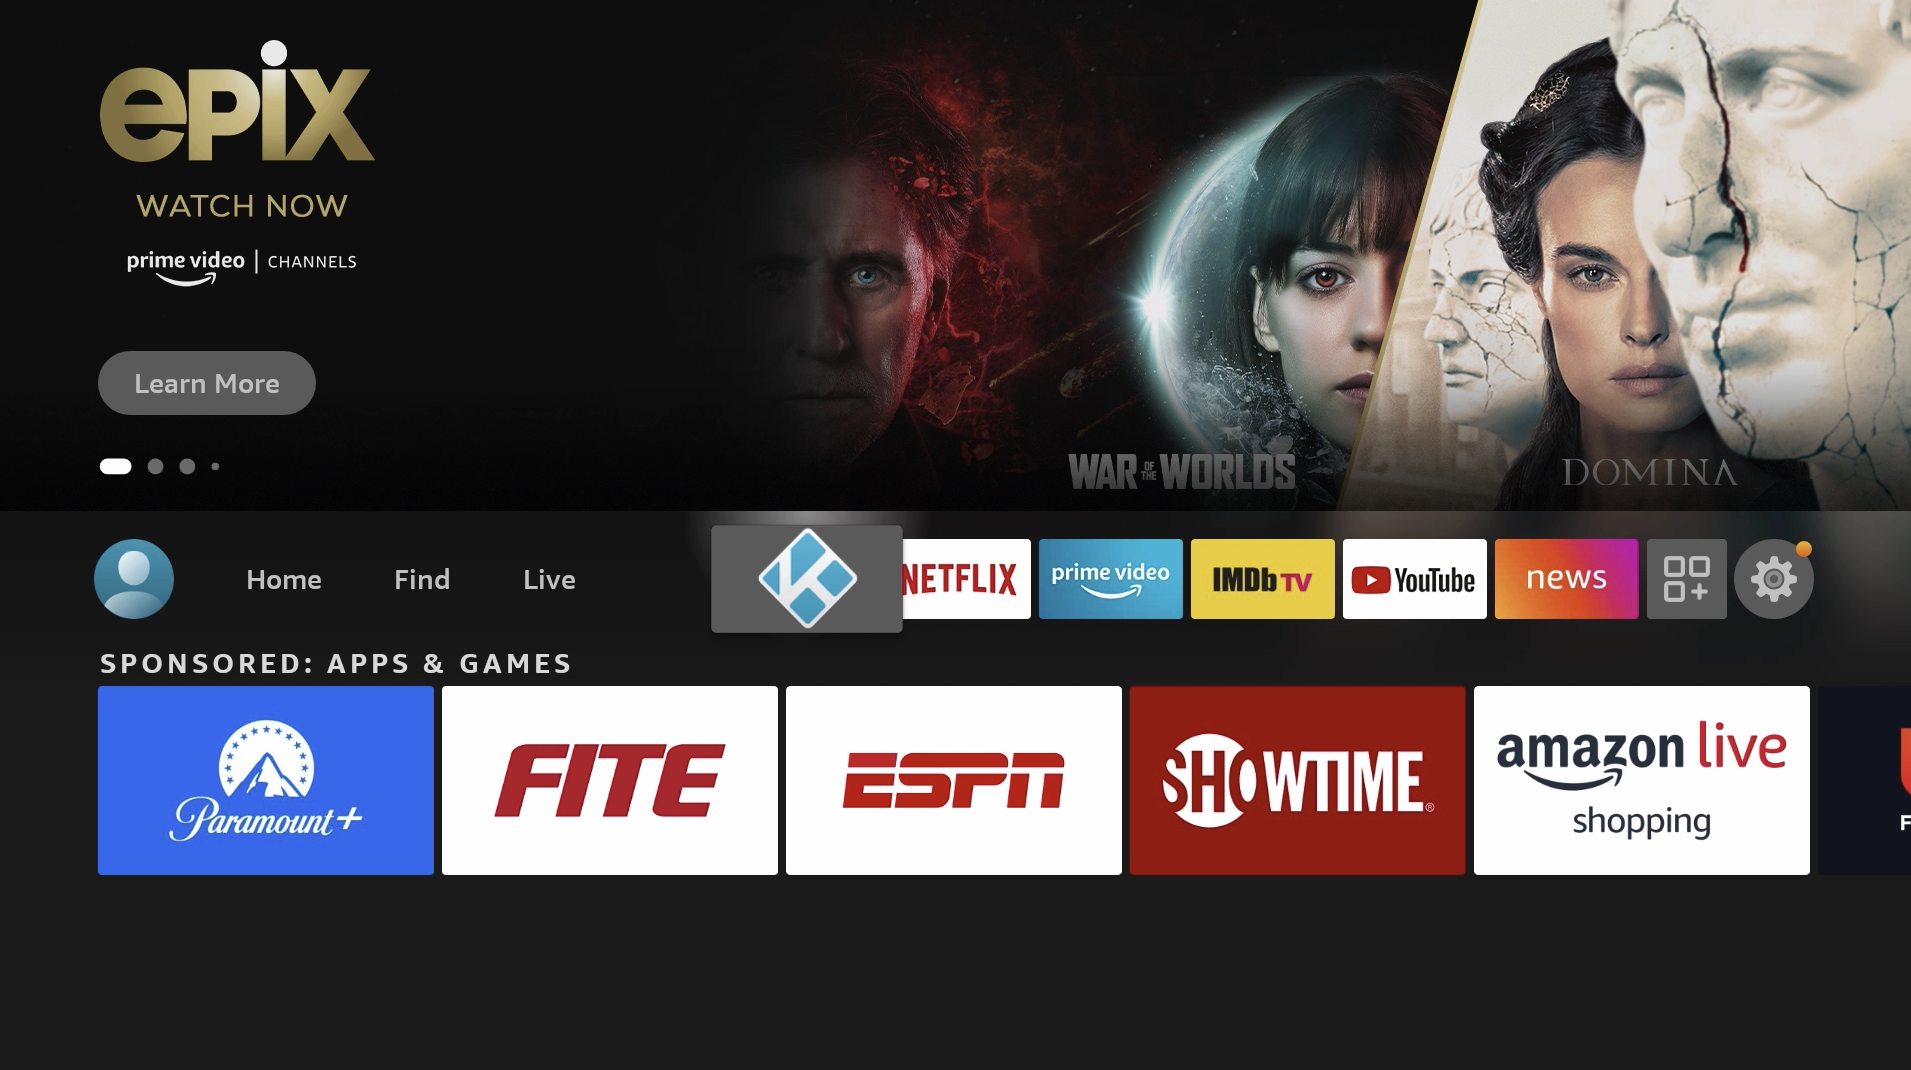
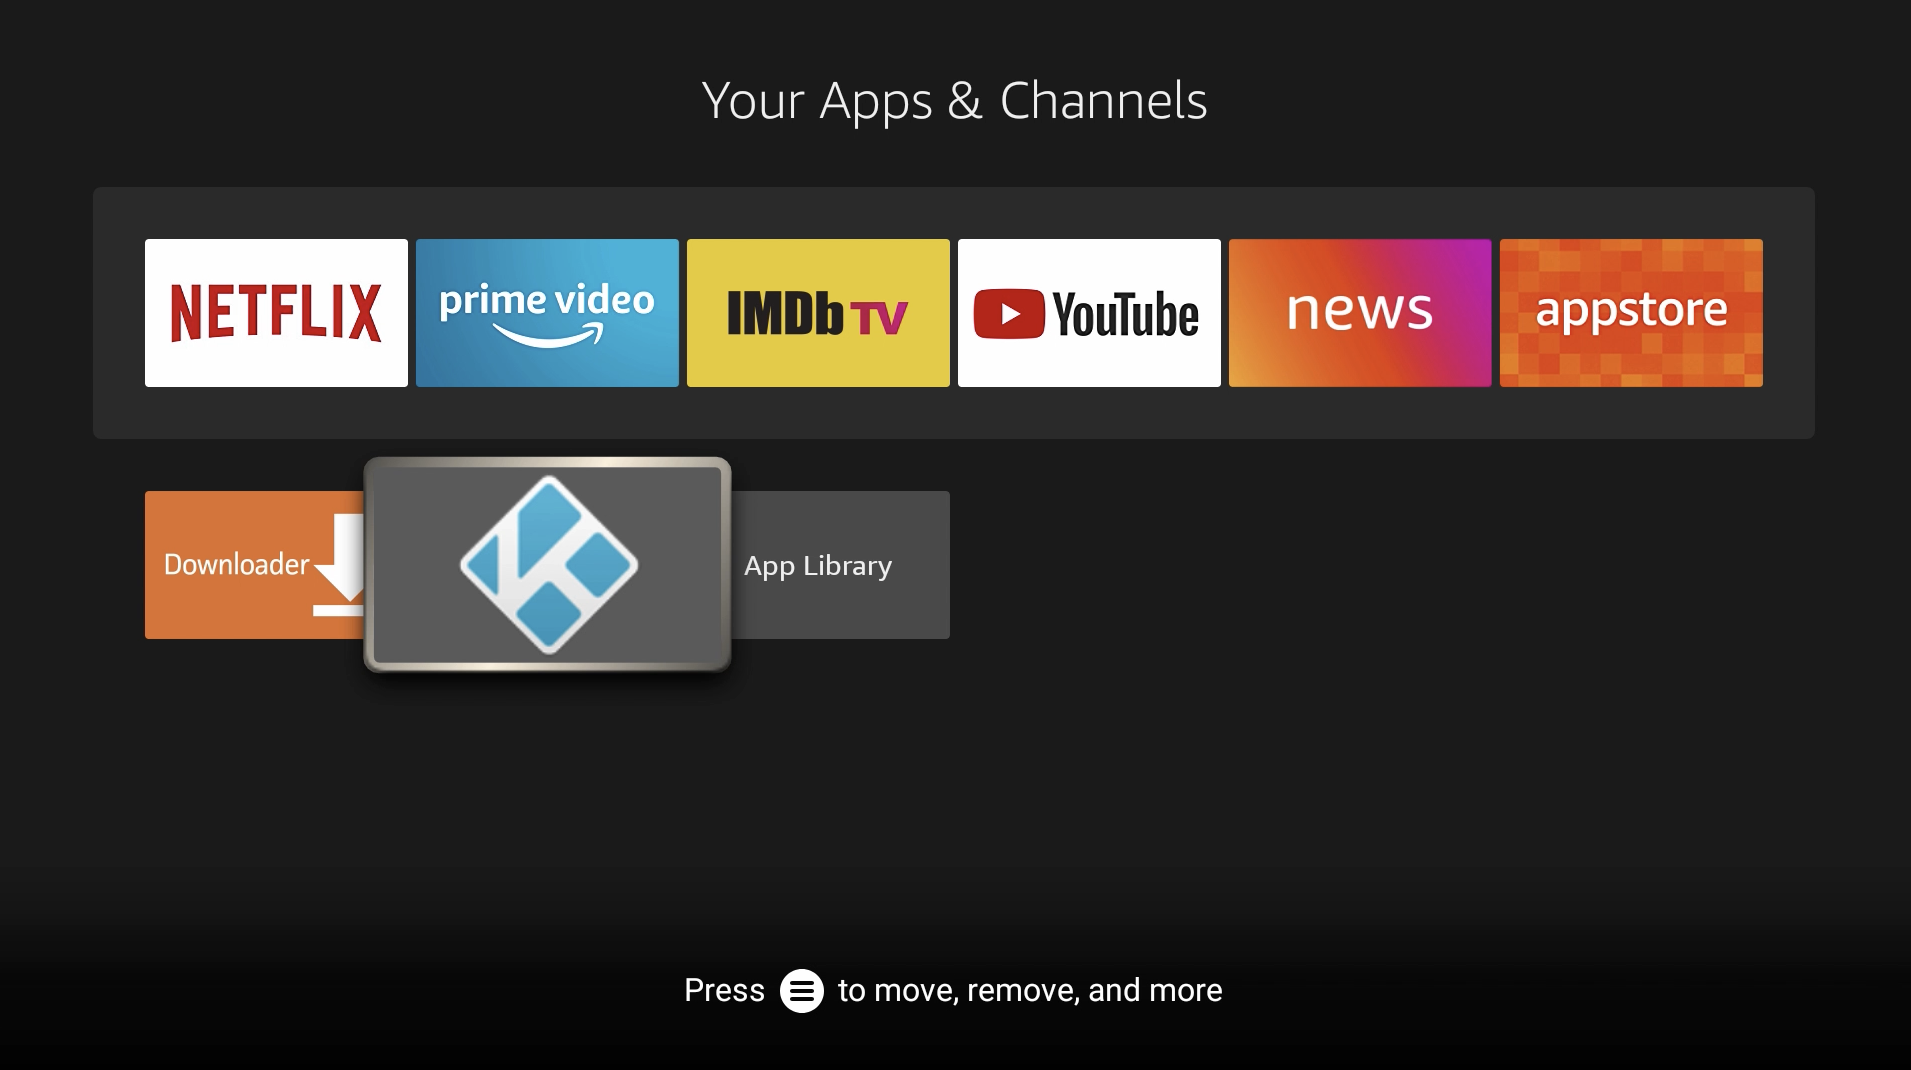
Kodi is now installed on your Amazon Fire TV. You can find it under Your Apps & Channels.
You can also uninstall Downloader now.