This tutorial will show you how to get the full 5120×1440 resolution on your super ultrawide monitor and Apple Silicon M1 Mac (including the Macbook Air, Macbook Pro, and Mac Mini). I recently purchased the 49″ Samsung CRG9 monitor and M1 Mac Mini. After setting everything up, I noticed I was only able to get 3840×1080 resolution. After some research and tinkering I’ve found the solution to get max 5120×1440 resolution on my M1 Mac!
How-to Get 5120×1440 on Your M1 Mac
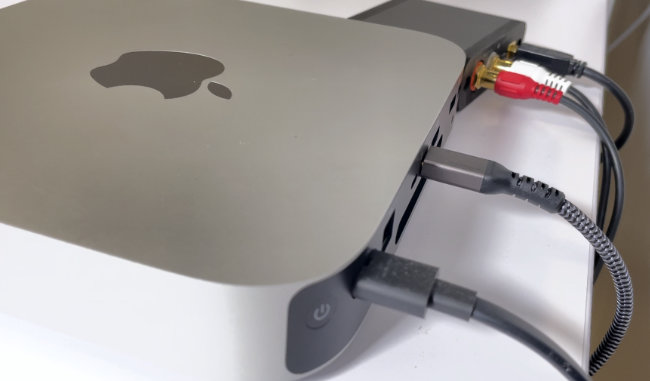
1. Unfortunately, I was not able to achieve full resolution with the cables included with my 49″ Samsung super ultrawide monitor. I had to purchase an 8k USB-C to DisplayPort cable. This is the one I purchased and I can confirm it works. Once you have a compatible cable, connect it to your monitor and M1 Mac.
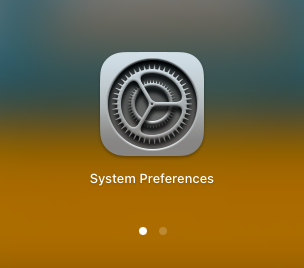
2. Go to Launchpad > System Preferences.
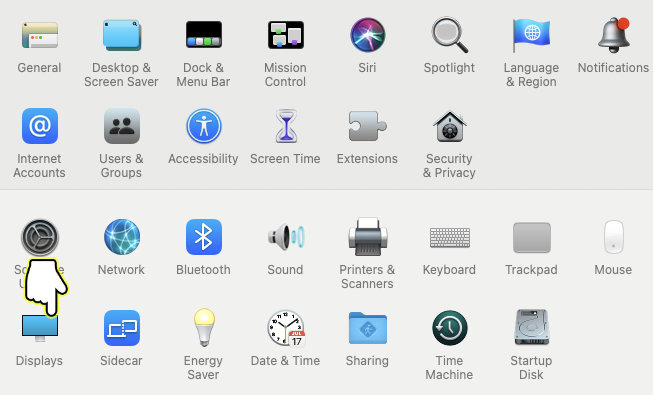
3. Open Displays.
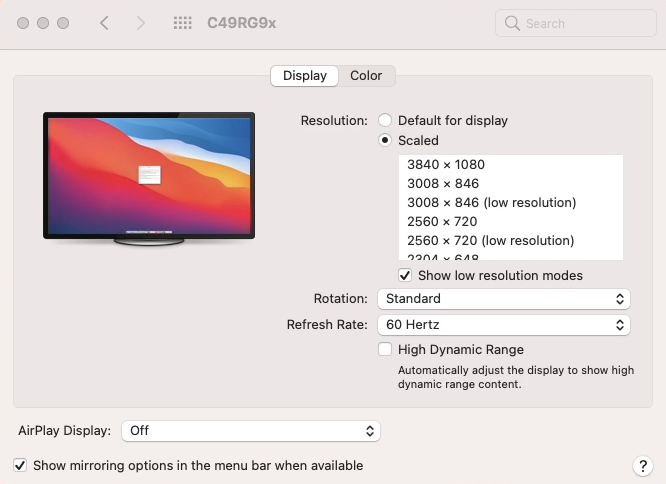
4. Press Scaled and select 5120 x 1440. Optional: You can change the Refresh Rate to 120 Hertz.
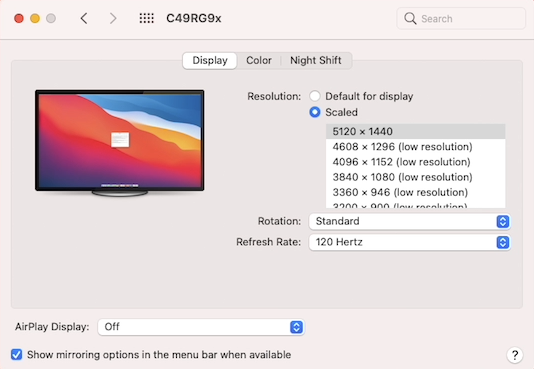
If you do not see the 5120 x 1440 option, make sure you update your macOS version to Big Sur 11.2 or later. Otherwise, you will need to go to the settings on your monitor (not on the Mac), and turn off FreeSync and change the Refresh Rate to 60hz. You should see the option for 5120×1440 in the Displays menu. You can hold the OPTION key on your keyboard and press Scaled to see more options.
If you are having issues waking your monitor up from sleep with the M1 Mac and super ultrawide monitor, then you will need to make sure you are on the latest version of macOS and change the DisplayPort Ver. on the settings of your monitor. For the Samsung CRG9, go to “Settings” on your monitor and go down to “System” and go down to “DisplayPort Ver.” and change it to “1.1” or “1.2” (I did not have the “1.2” option so I selected “1.1”).