Learn how to add customs skins to Delta Emulator on your iPhone or iPad. You can install different user created skins for different consoles on Delta Emulator to enhance your game playing experience.

Add Customs Skins to Delta Emulator
1. To download custom skins to Delta Emulator, open up a browser and go to either:
delta-skins.github.io or skins4delta.com
2. Select a console.
![]()
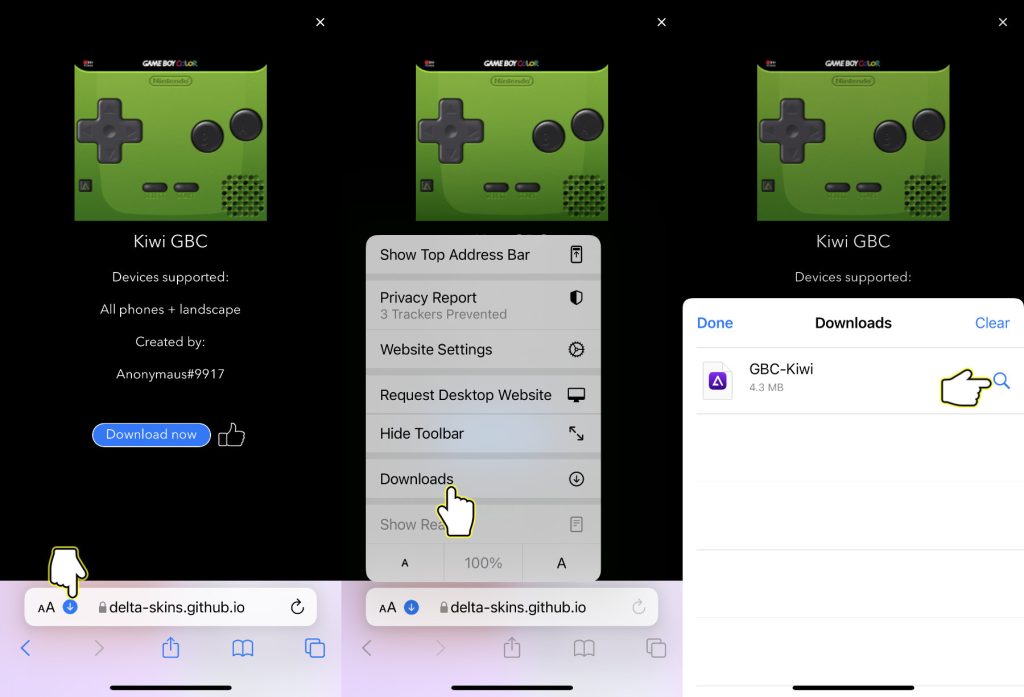
3. Select skin and download.
![]()
4. Press on the blue download button in the URL field, press Downloads, and press on the magnifying glass icon next to the downloaded file to open the Downloads folder. You can also access the Downloads folder by opening the Files app and opening the Downloads folder.
OR
![]()
5. Press on the icon of the downloaded skin.
![]()
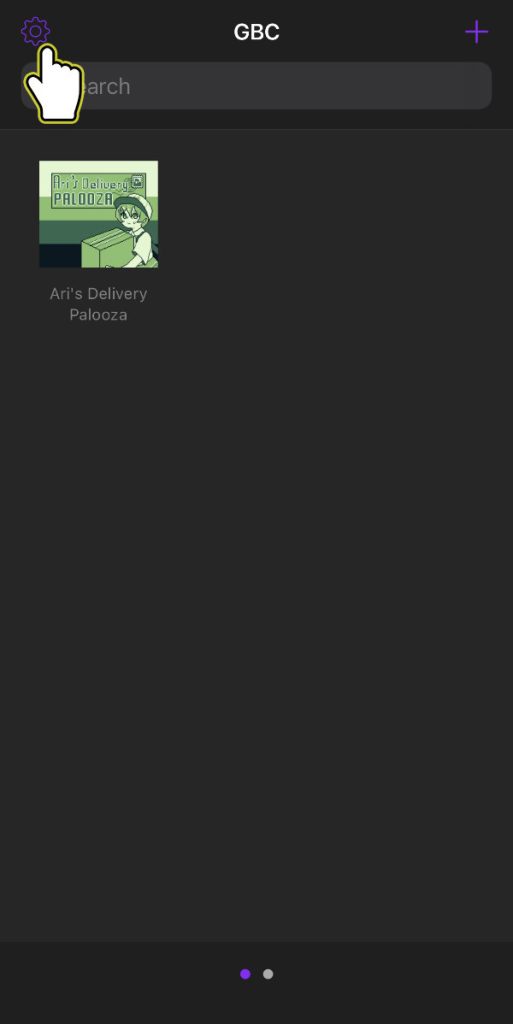
6. Delta should open. Press on the settings button on the top left corner.
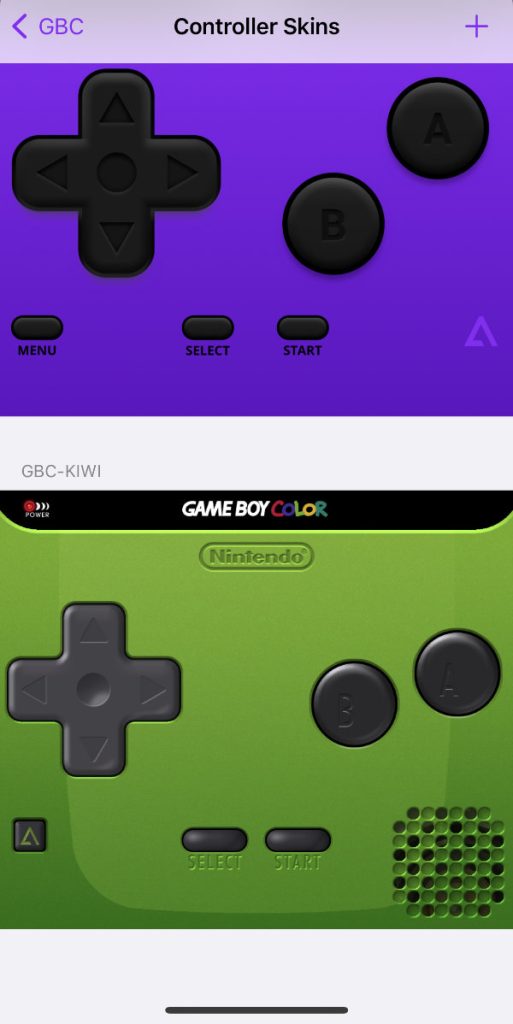
7. Select the console under Controller Skins.
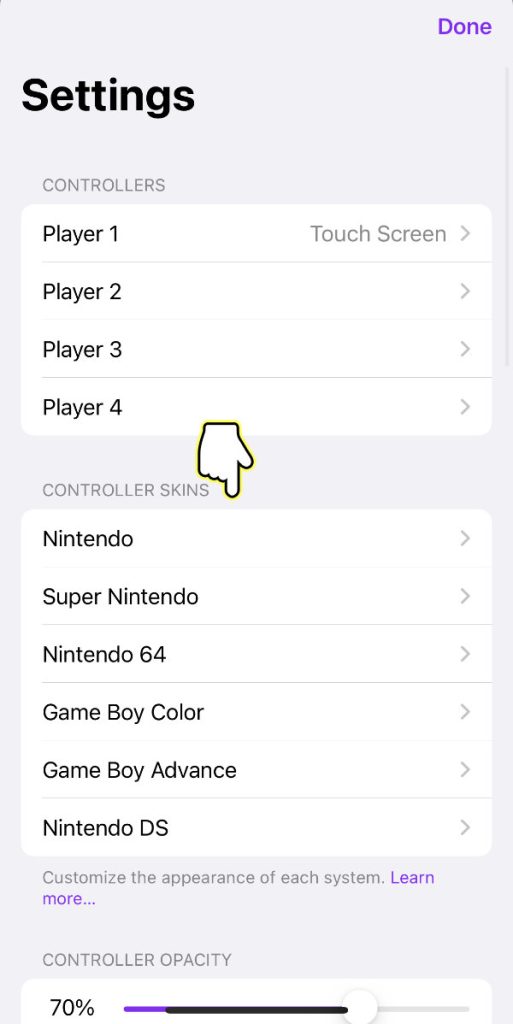
8. Select the skin you want to change.
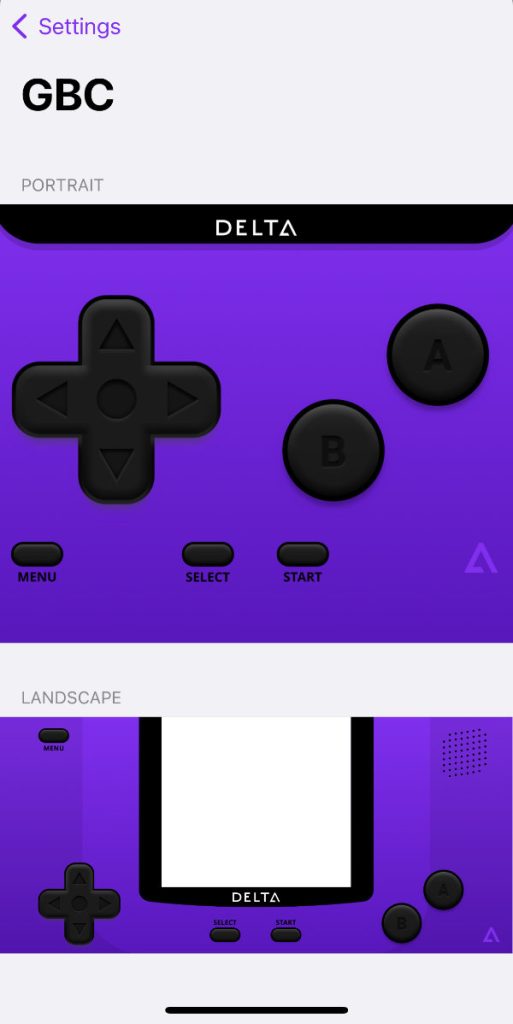
9. Select new skin.
Now when you launch a game on that console, you will see the new skin.