How-to Install Retrorama Custom Theme to RetroArch for iOS (iPhone/iPad)
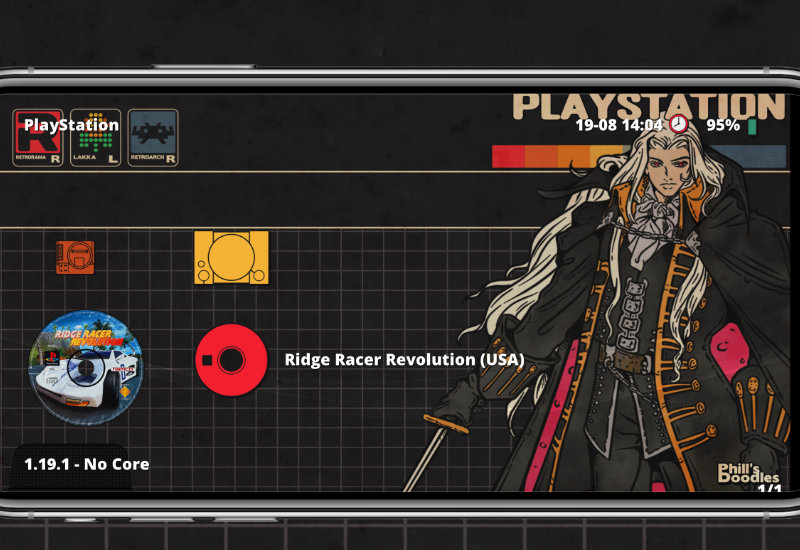
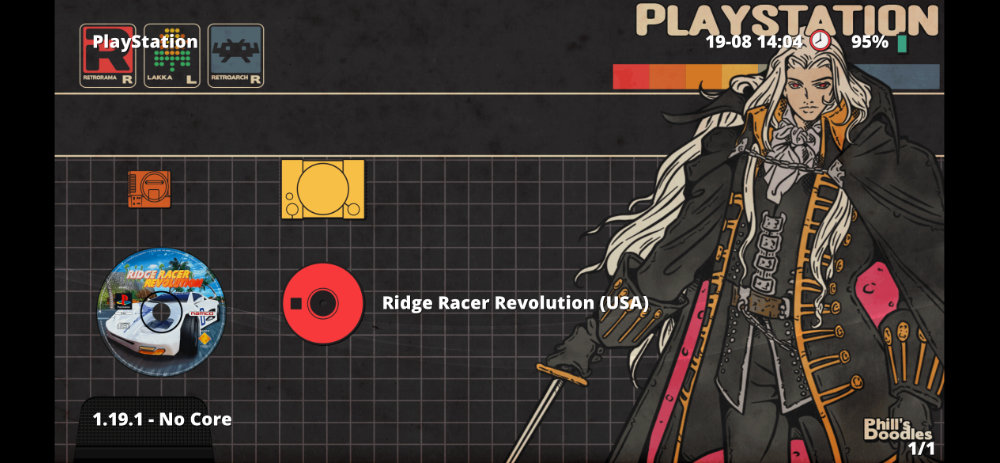
This tutorial will show you how to download and install the Retrorama theme to RetroArch on your iPhone or iPad. This custom theme changes the way RetroArch looks and uses dynamic wallpapers, custom icons, and custom font.
You should know:
- This theme uses the XMB UI, which is intended to be used with a controller but can be used with a touchscreen.
- For iPhones, it is best used in the horizontal position.
- The theme is over 1gb in size.
Install Retrorama to RetroArch
Before we begin, make sure you run RetroArch if you haven't before. This will create a RetroArch folder on your device.
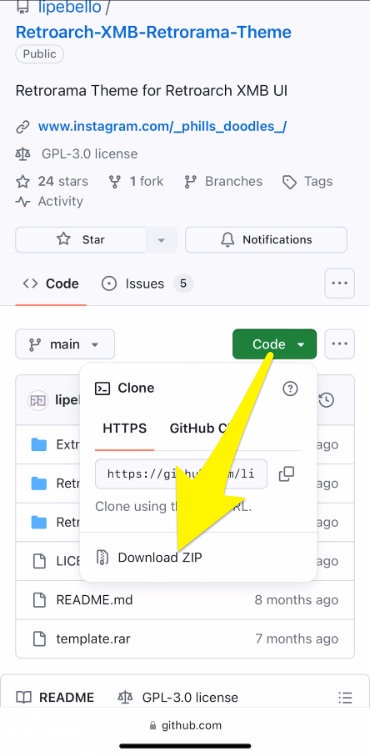
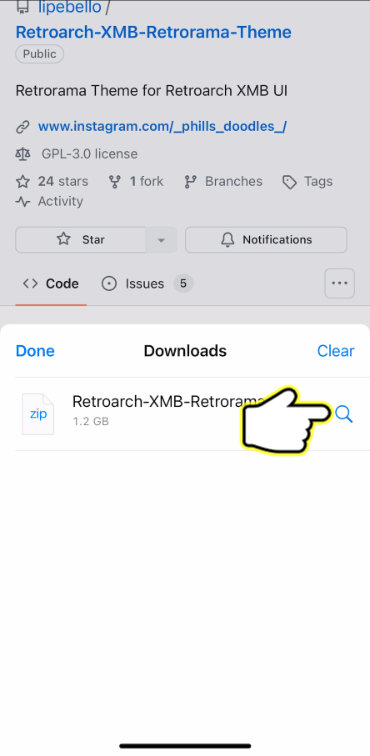
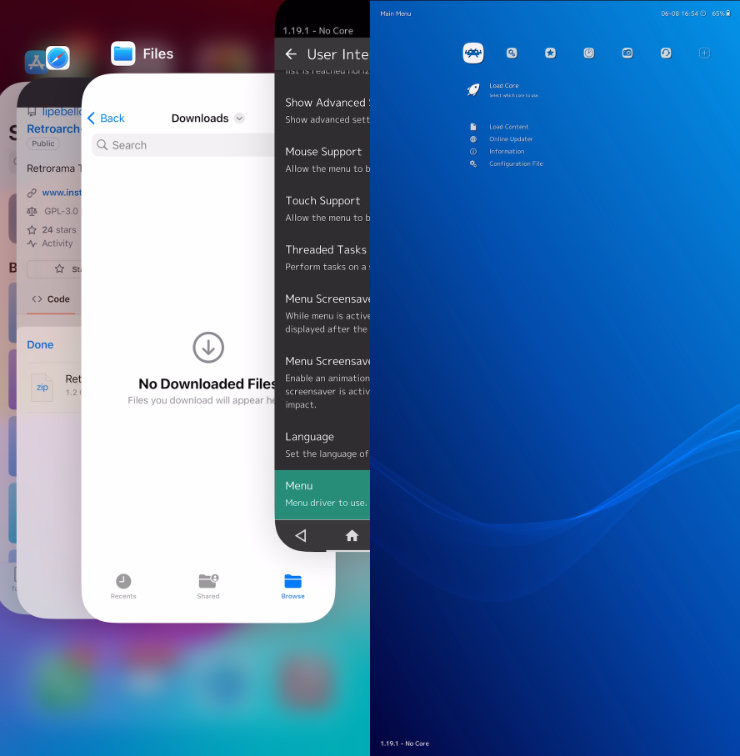
1. Download the Retrorama theme to your device here - press on the green Code button, press Download ZIP, and download the theme.
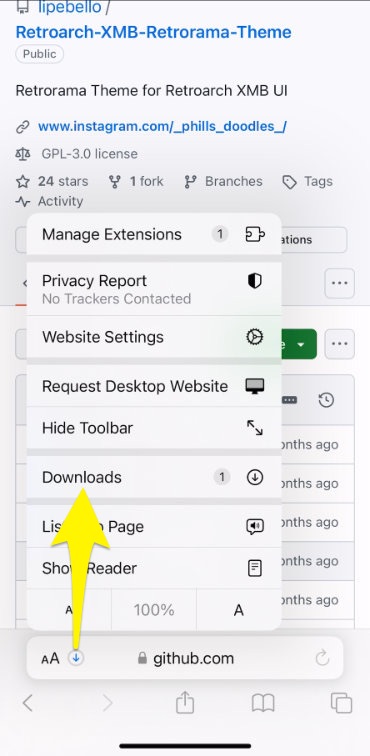
2. Press the blue download button next to the URL field and press Downloads.
3. Once the file is finished downloading, press on the magnifying glass next to the file to open the Files app.
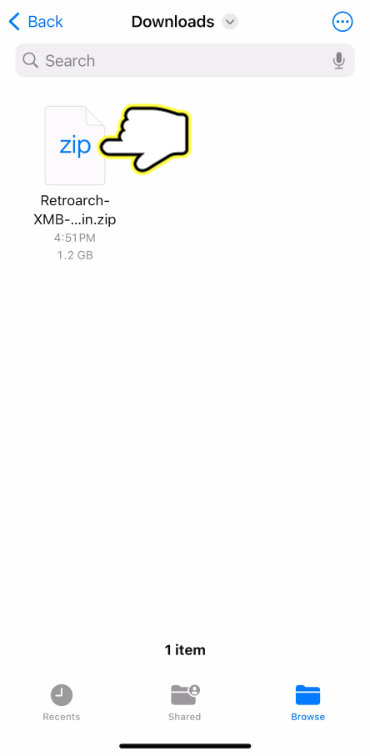
4. Press on the downloaded ZIP file icon to extract the file.
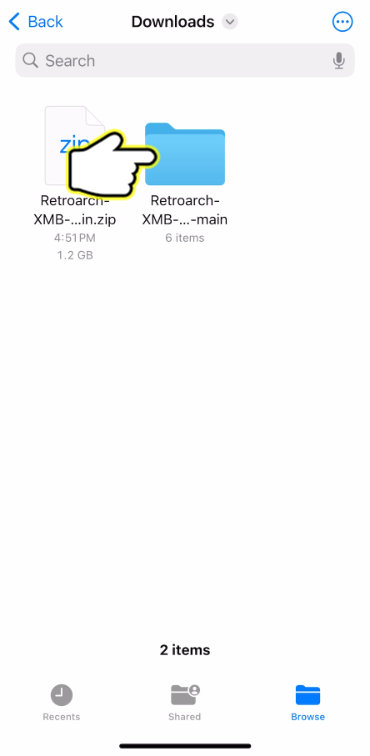
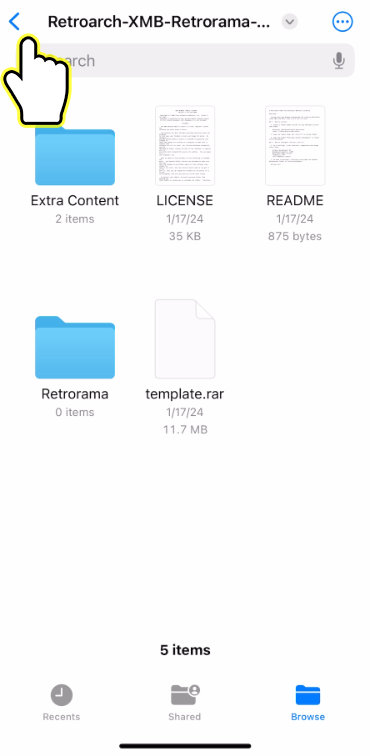
5. Open the extracted folder.
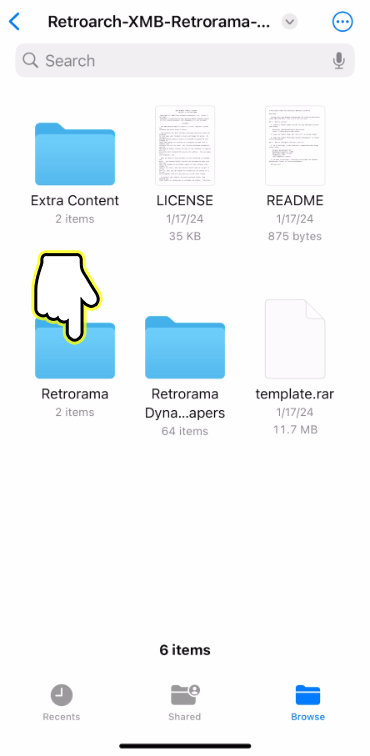
6. Open the Retrorama folder.
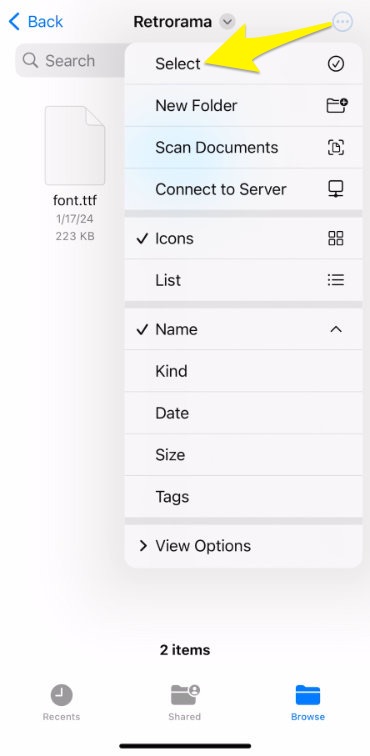
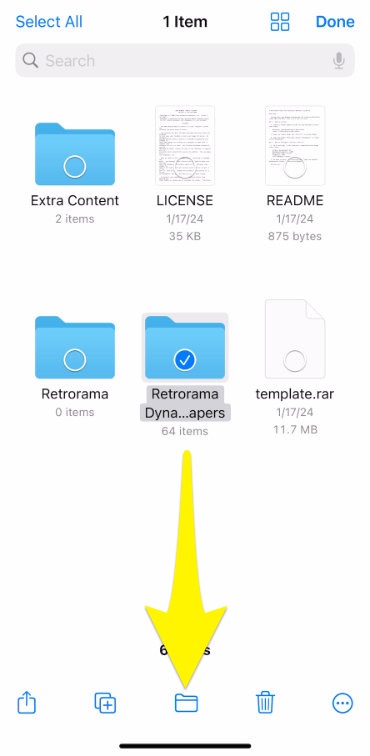
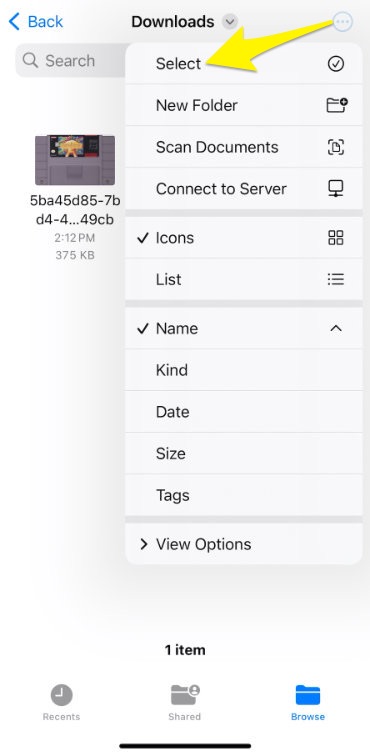
7. We will now move the files into the RetroArch xmb folder. Press on the three dots on the top-right corner and press Select.
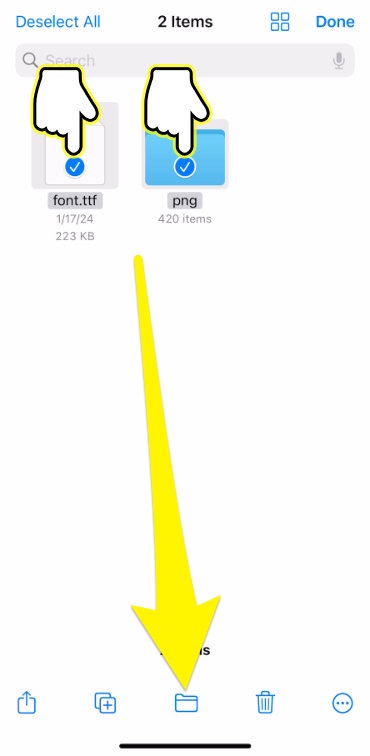
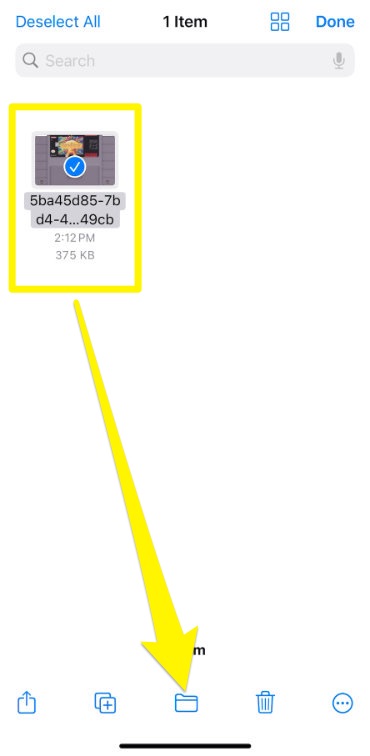
8. Select both font.tff and the png folder then press the folder icon on the bottom center of the screen.
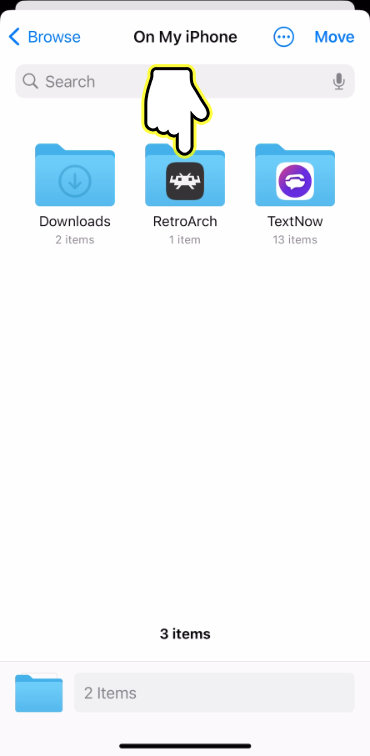
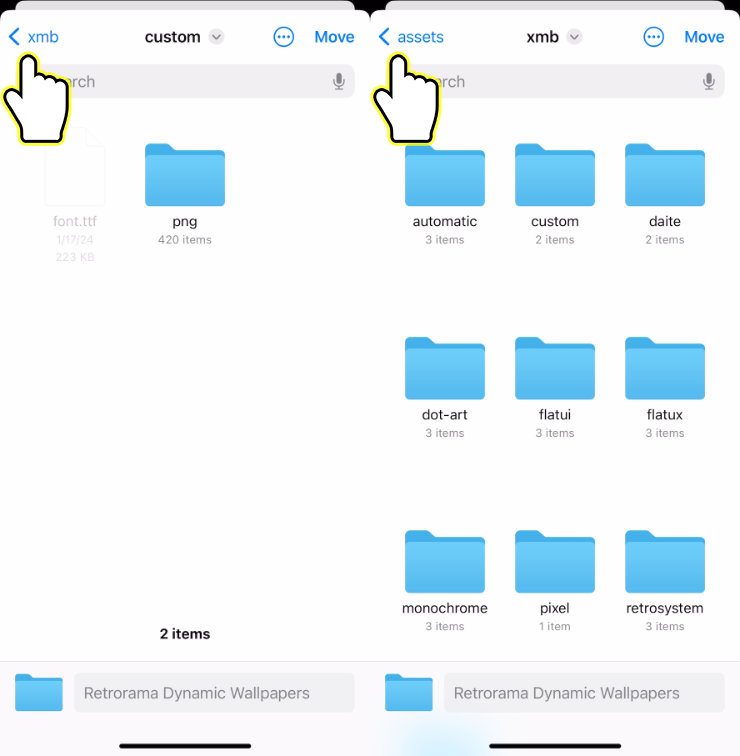
9. Open the RetroArch folder - you may need to press back until you see On My iPhone and press into it.
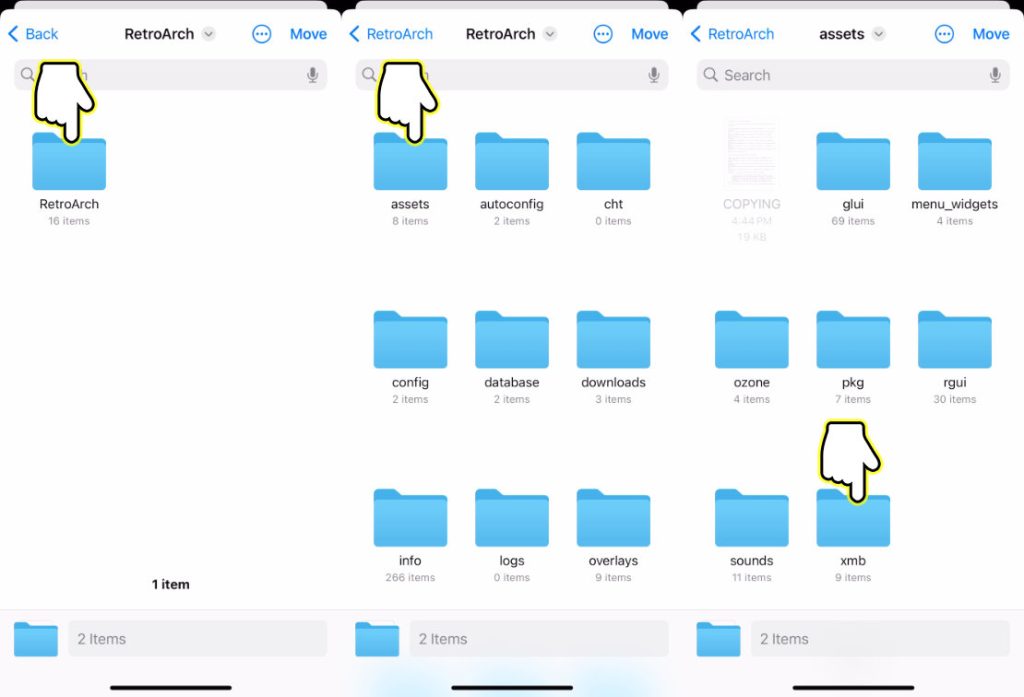
10. Open RetroArch > assets > xmb.
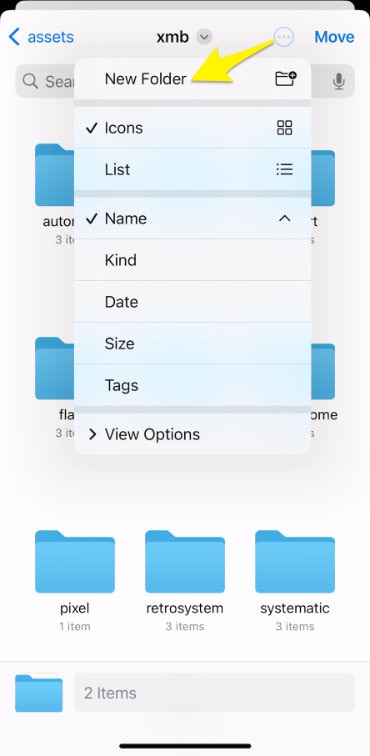
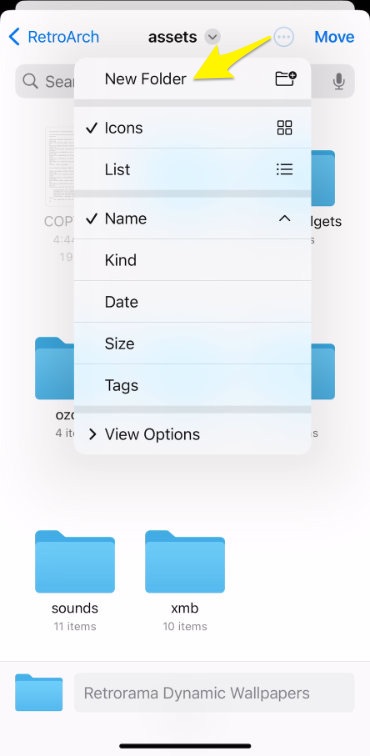
11. Press on the three dots on the top-right corner and press New Folder.
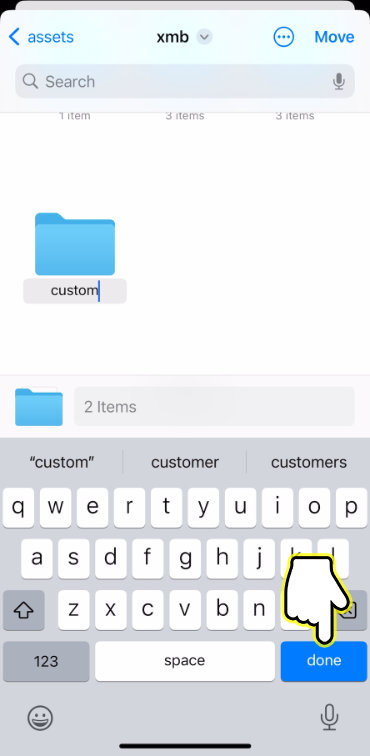
12. Name it custom and press done.
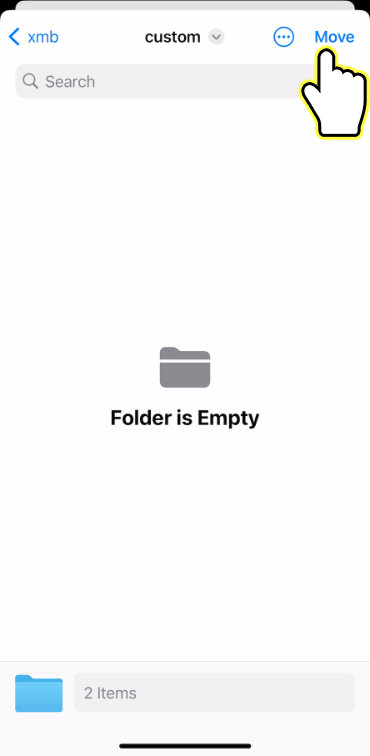
13. You should be inside the custom folder. Press Move.
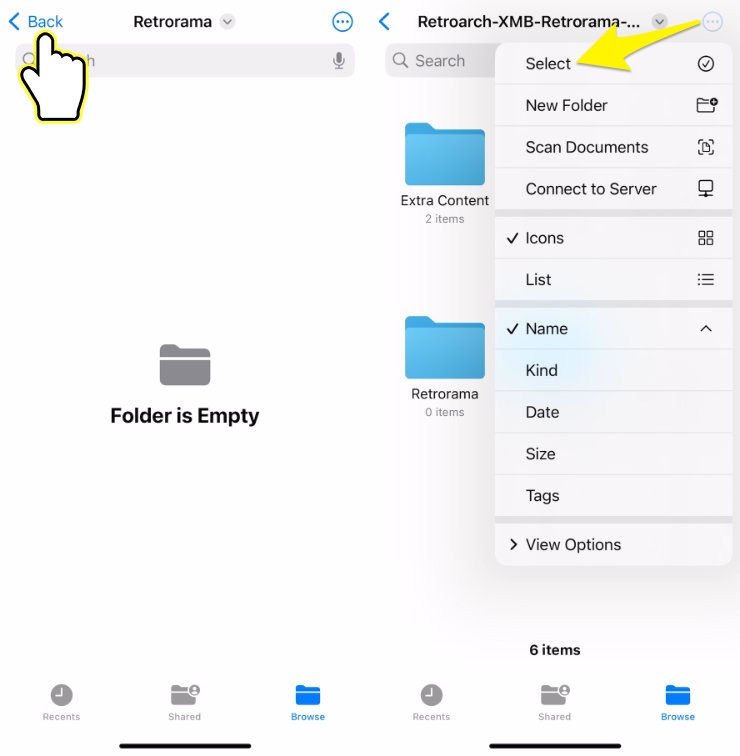
14. Now we will move the dynamic wallpapers to the RetroArch assets folder. Press back to return the to Retroarch-XMB-Retrorama folder, press on the three dots on the top-right corner, and press Select.
15. Select Retrorama Dynamic Wallpapers folder and press on the folder icon on the bottom center of the screen.
16. Press back two times to return to the assets folder.
17. Press on the three dots on the top-right corner and press New Folder.
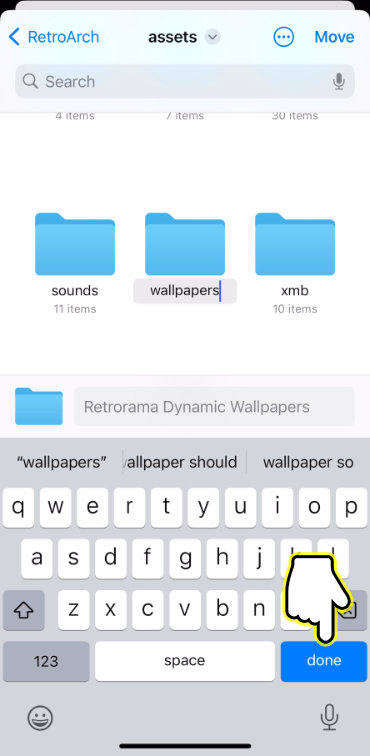
18. Name it wallpapers and press done.
19. You should be inside the wallpapers folder. Press Move.

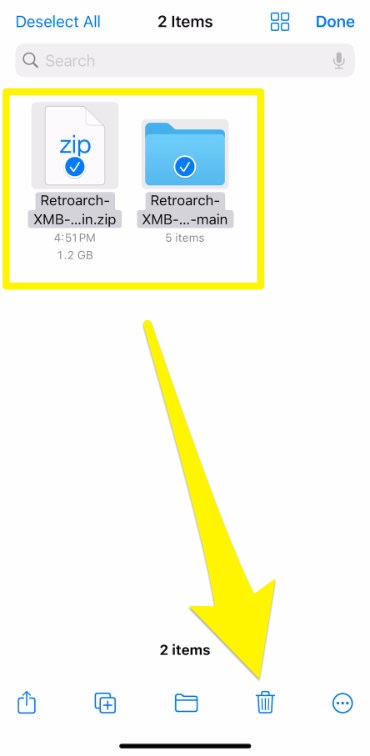
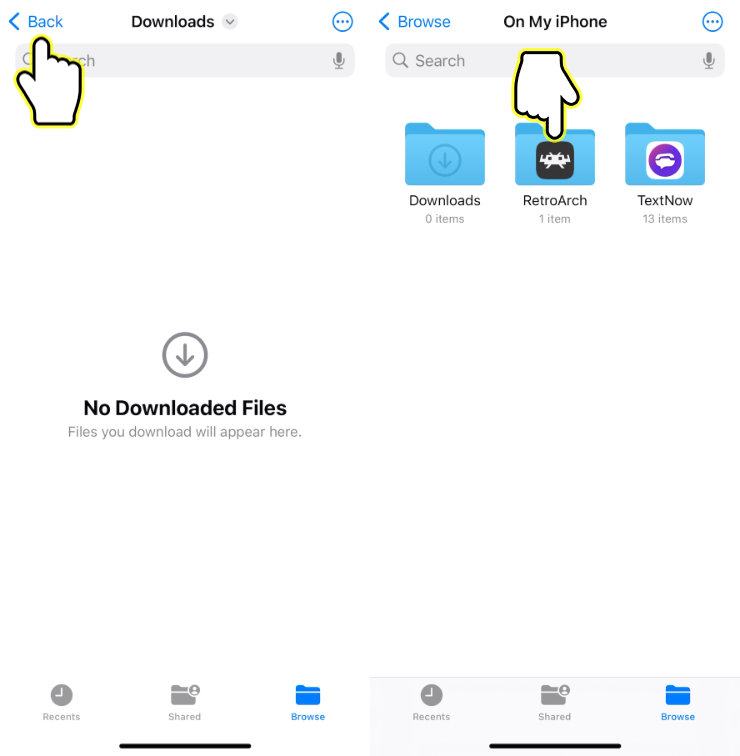
20. We can now delete the Retrorama files. Press back to return to the Downloads folder.
21. Press on the three dots, press Select, select both Retrorama files, and press the trash can button to delete the files.
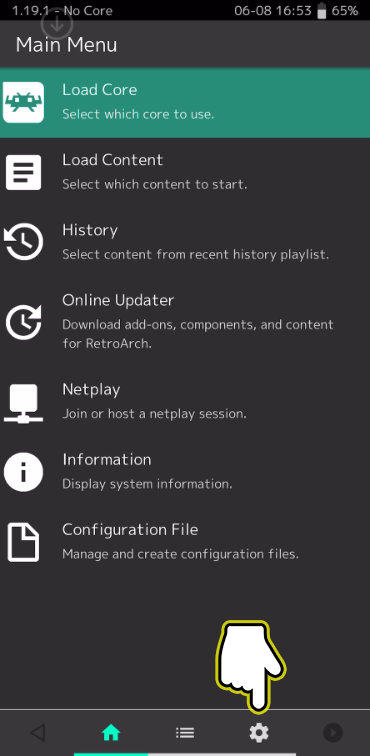
22. We will now change the RetroArch UI to XMB. Open RetroArch and press on the settings button on the bottom-right corner.
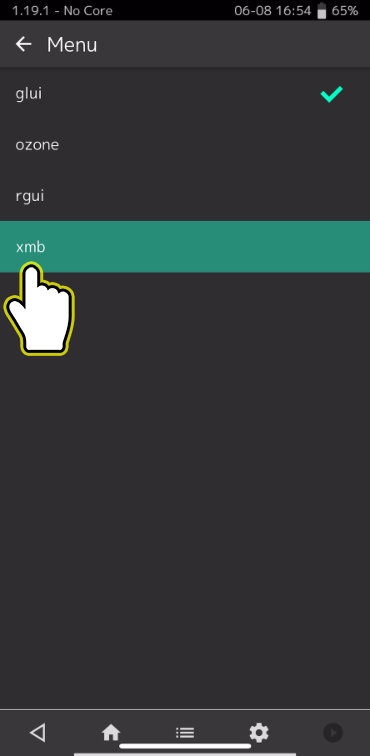
23. Go to User Interface and scroll down to Menu.
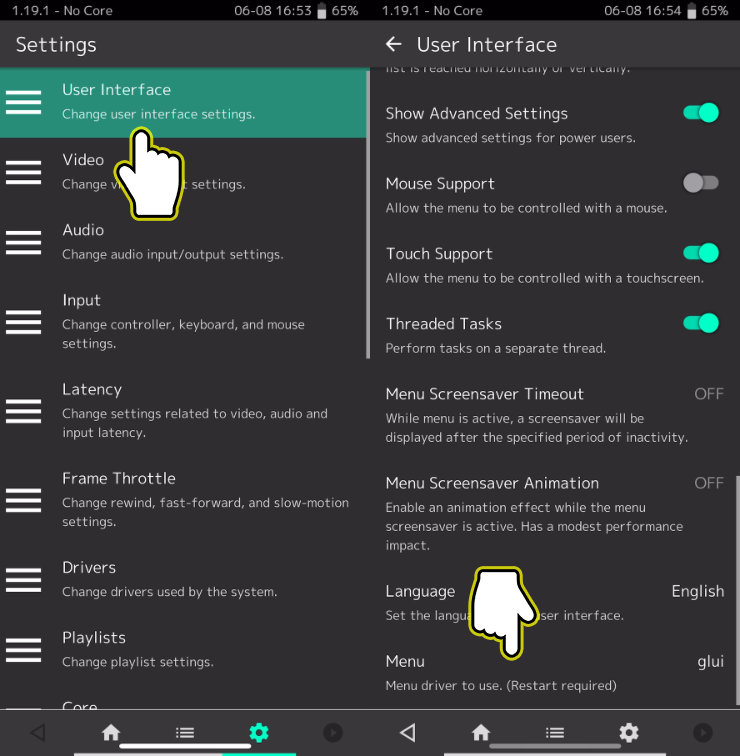
24. Select xmb.
25. Restart RetroArch - manually force close RetroArch and reopen the app.
26. *OPTIONAL* This step is recommended but not required - it scales up the UI and makes it easier to use. Go to Settings > User Interface > Appearance > Layout > and select Handheld.
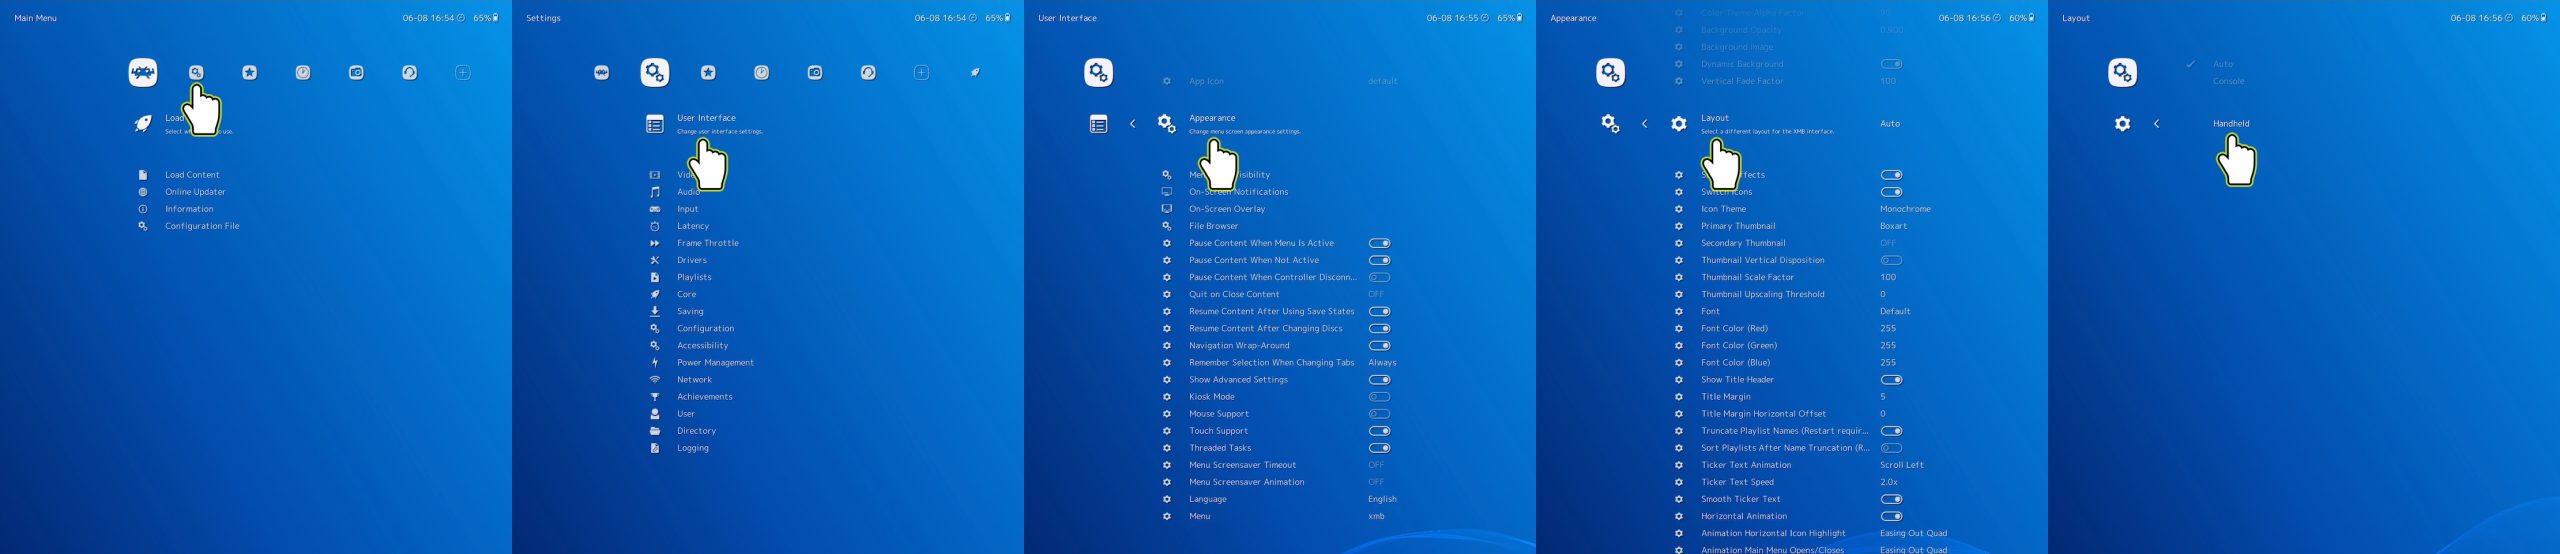
27. You should now be in Appearance settings if you followed step 27. If not, go to Settings > User Interface > Appearance.
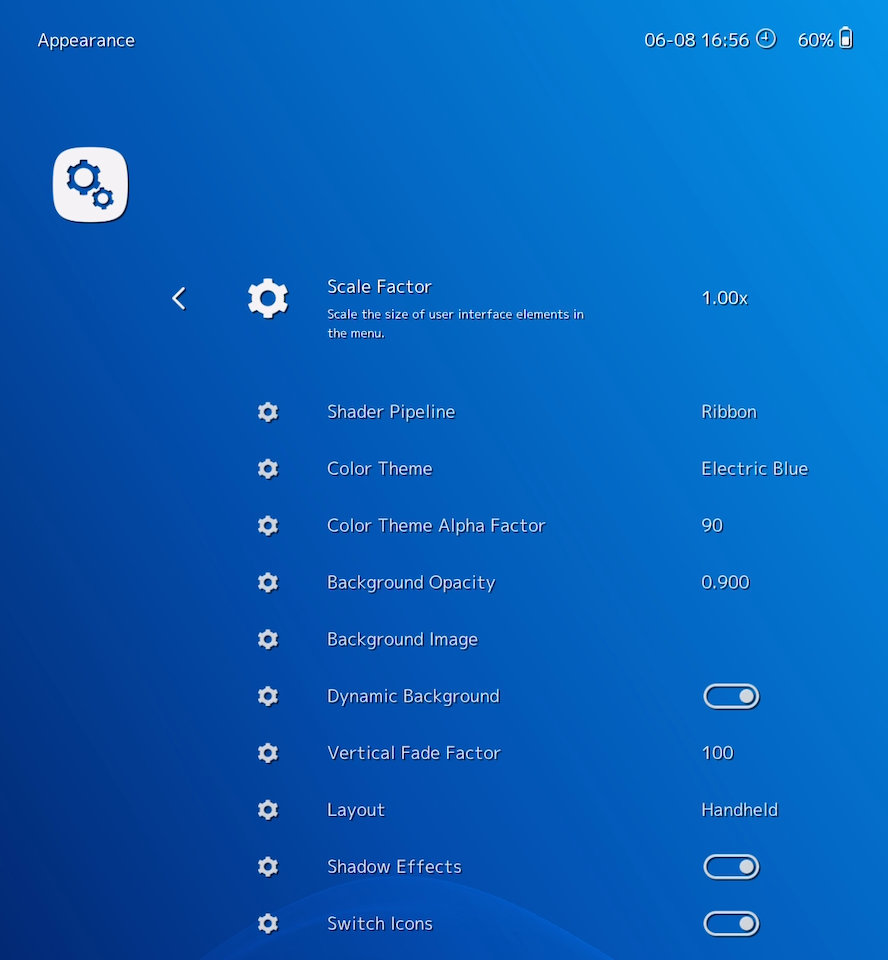
28. Go to Color Theme and select Background Image.
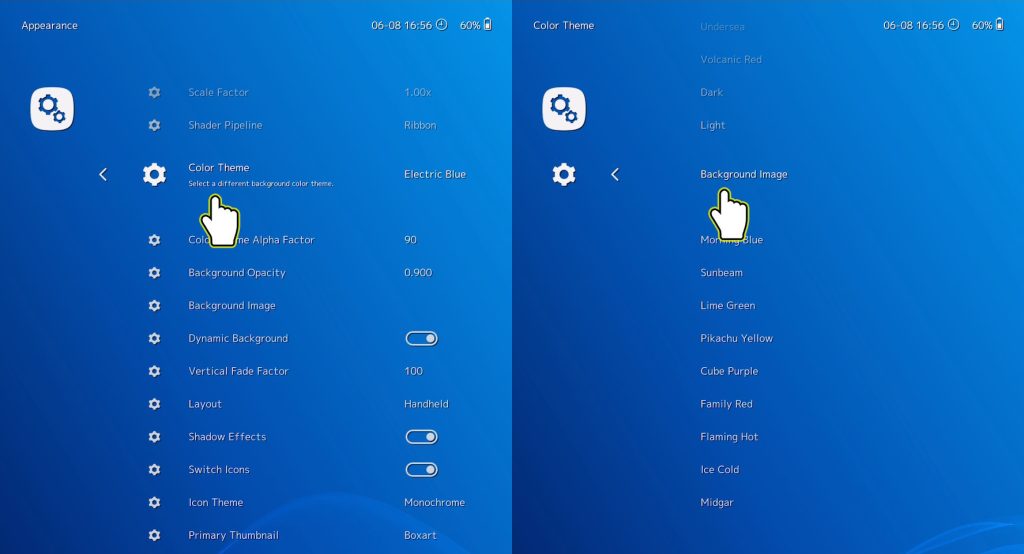
29. Go to Background Opacity and select 1.000.
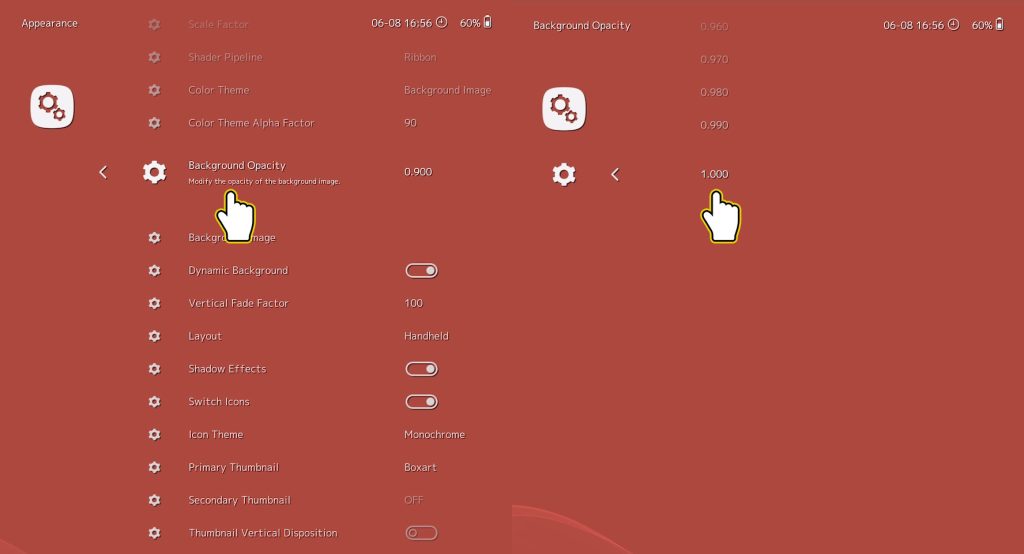
30. Go to Icon Theme and select Custom.
![]()
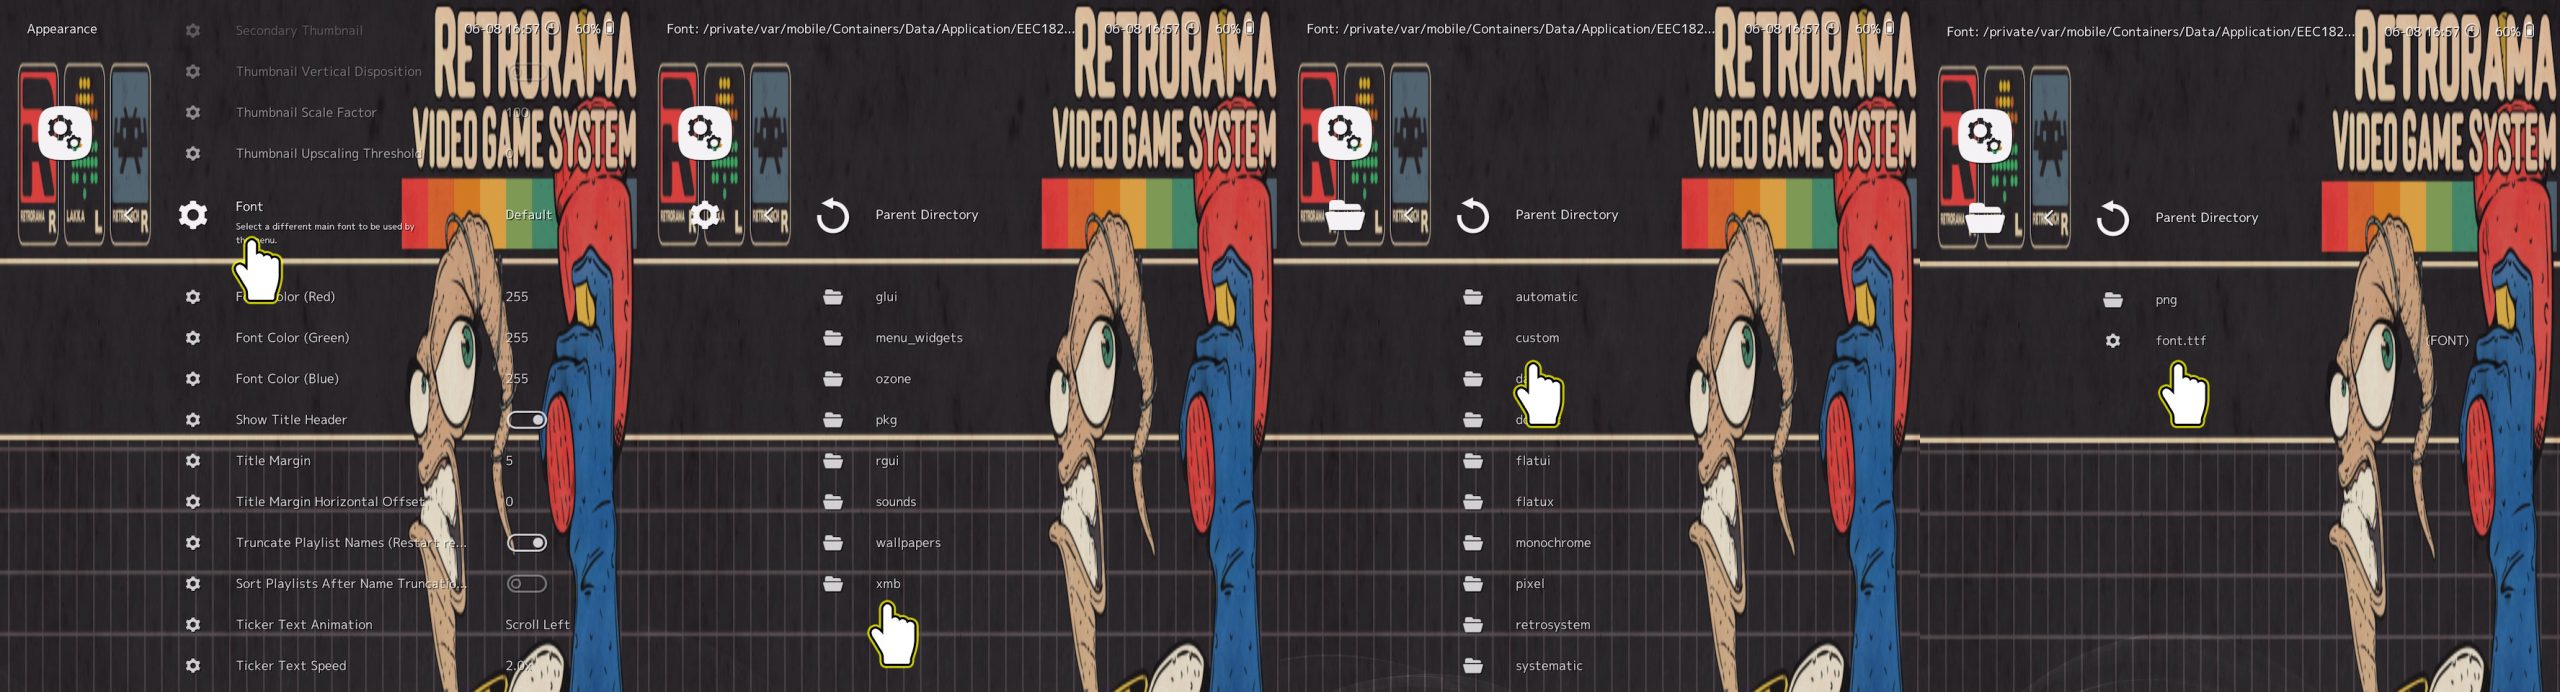
31. Go to Font, open xmb > custom, and select font.ttf.
32. It should take you back to the Settings page. Scroll down and go to Directory.
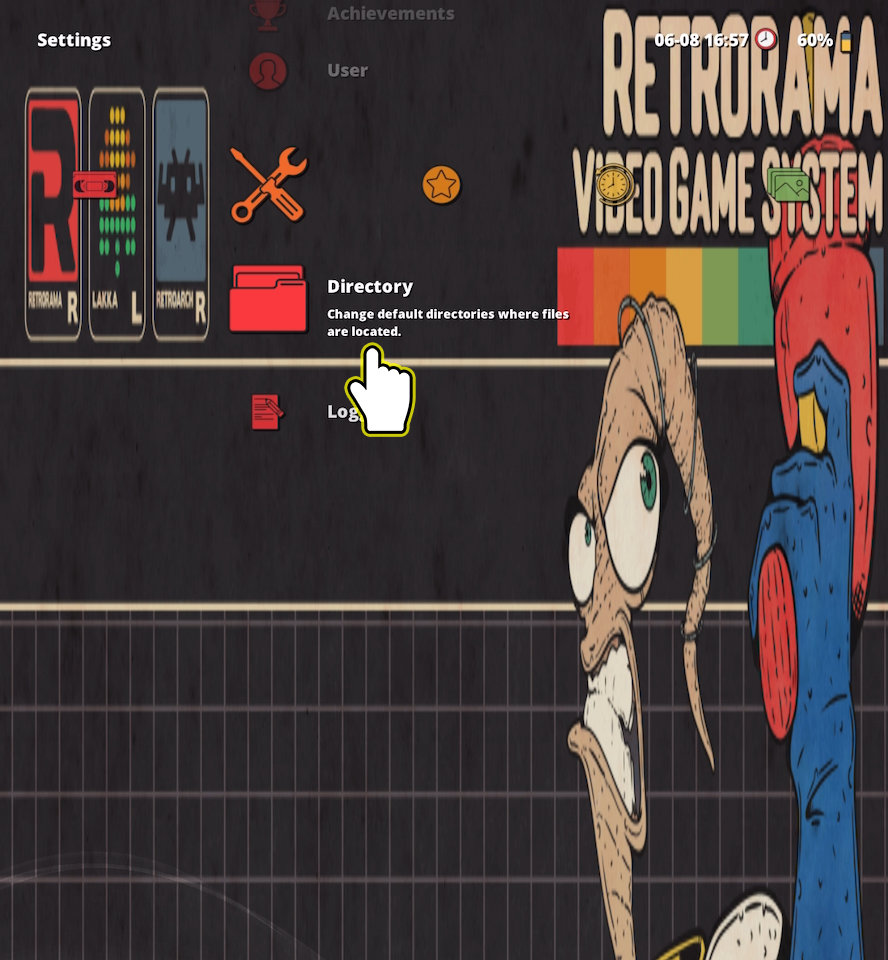
33. Go to Dynamic Backgrounds > ~/Documents/RetroArch > assets > wallpapers > Retrorama Dynamic Wallpapers and press <Use This Directory>.

That's it! To further customize the look of Retrorama, you can edit the thumbnail graphics for your game. It is a manually process and each box art must be changed one by one.
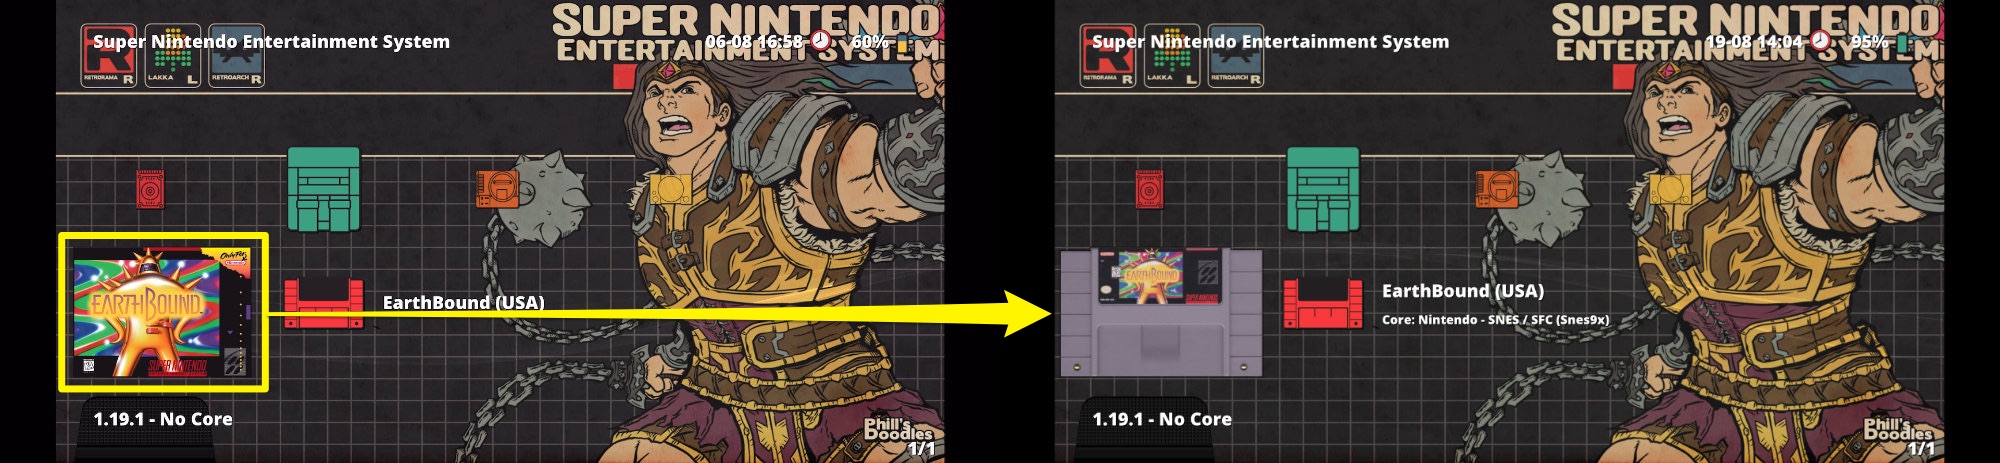
Add Custom Box Art
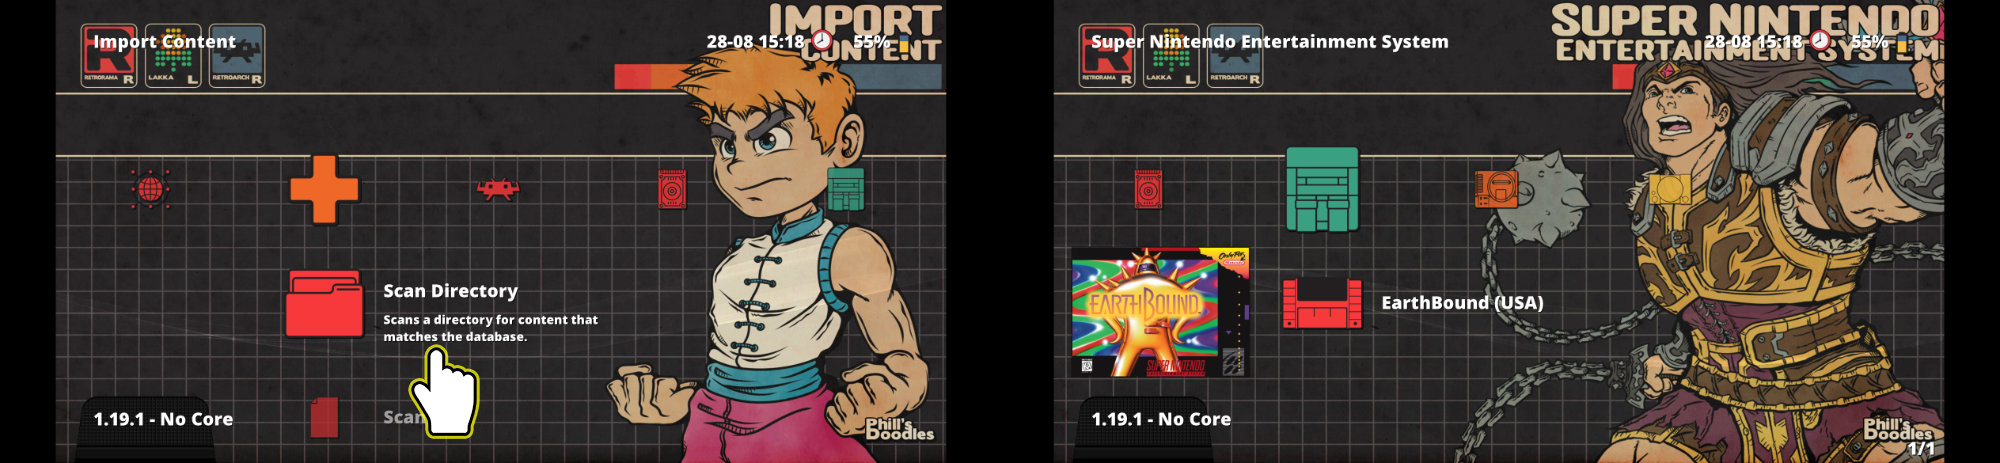
Before we begin, you will need to add your ROMs, Import Content under settings, and open each console so the default box art is generated.
Each box art will need to be changed manually. It's most efficient to change the box art for each console at a time; so download all of the box art for the games in a specific console and change them one at a time.
LaunchBox Games Database
LaunchBox has a collection of various box arts for games in its large database. I recommend using it to have consistent box art for your games but you can use your own custom image by skipping to step 1b.
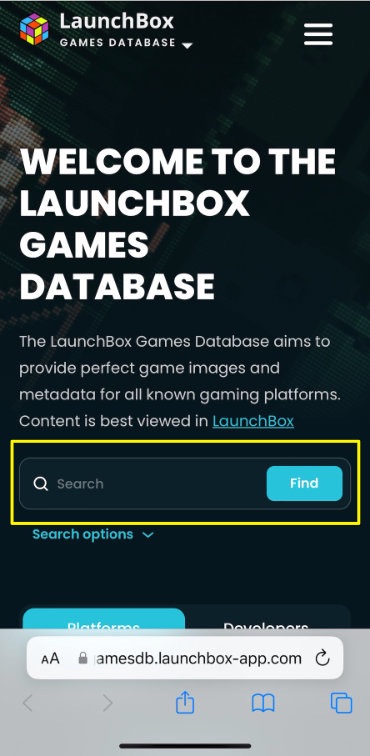
1a. Find box art. I like to use LaunchBox Games Database at gamesdb.launchbox-app.com. Search for game in search bar.
2a. Select the correct game and press Images.
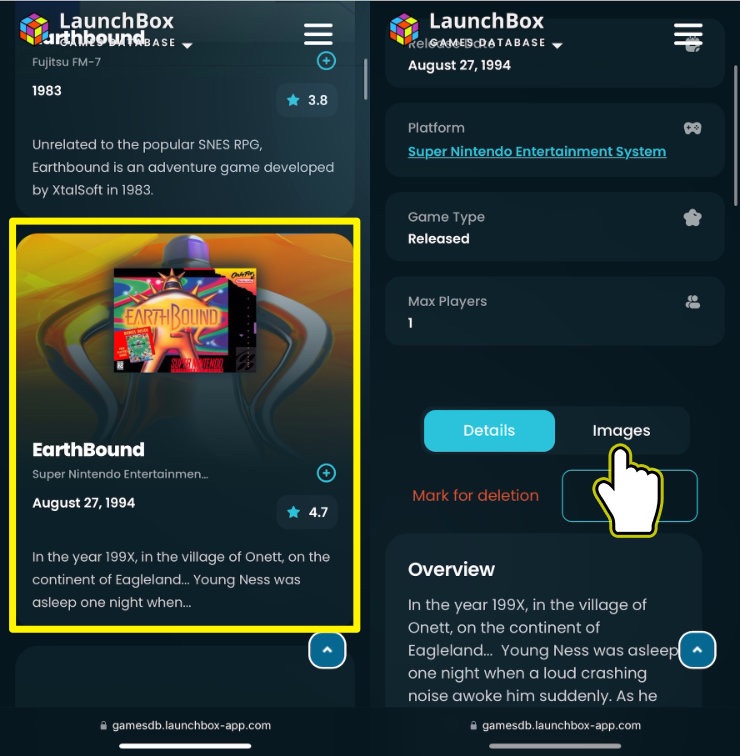
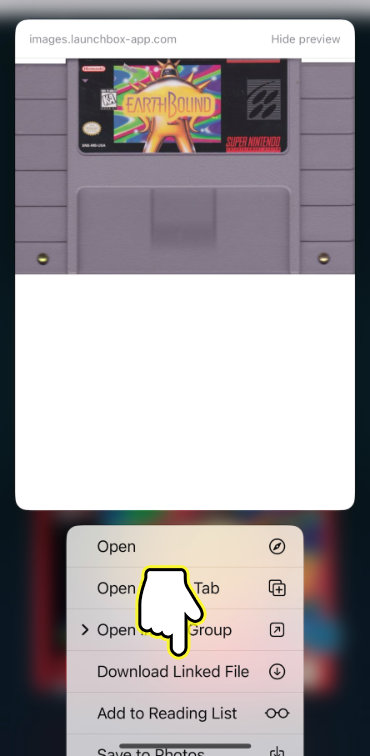
3a. Long press desired image and press Download Linked File.
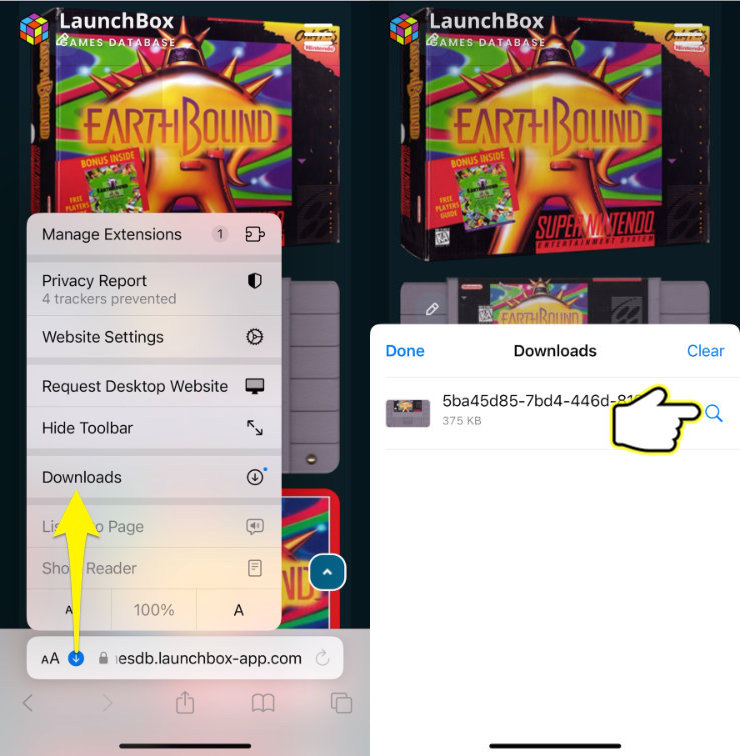
4a. Press the blue download button next to the URL field, press Downloads, and press the magnifying glass on the downloaded file to open the Files app.
Custom Images
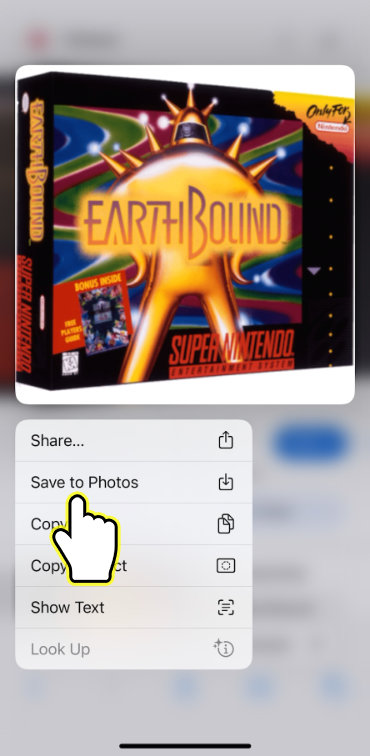
1b. Find custom image, long press it, and press Save to Photos.
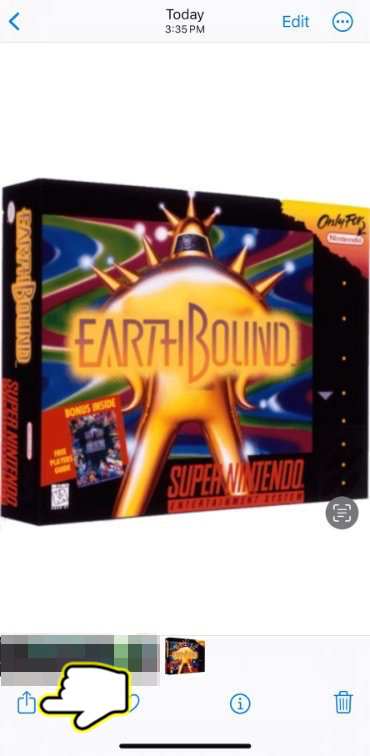
2b. Locate photo in Photos app and press the share button.
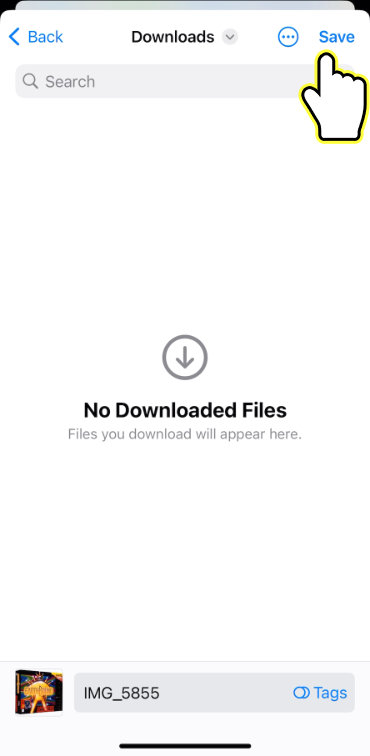
3b. Go to the Downloads folder. You may need to press back until you see On My iPhone, open it, and open the Downloads folder. Press Save.
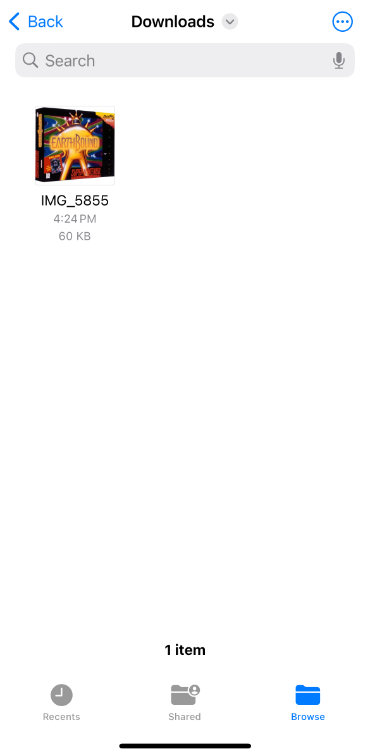
4b. Open the Files app and go to the Downloads folder.
5. Press on the three dots on the top-right corner and press Select.
6. Select image and press the folder button on the bottom-center of the screen.
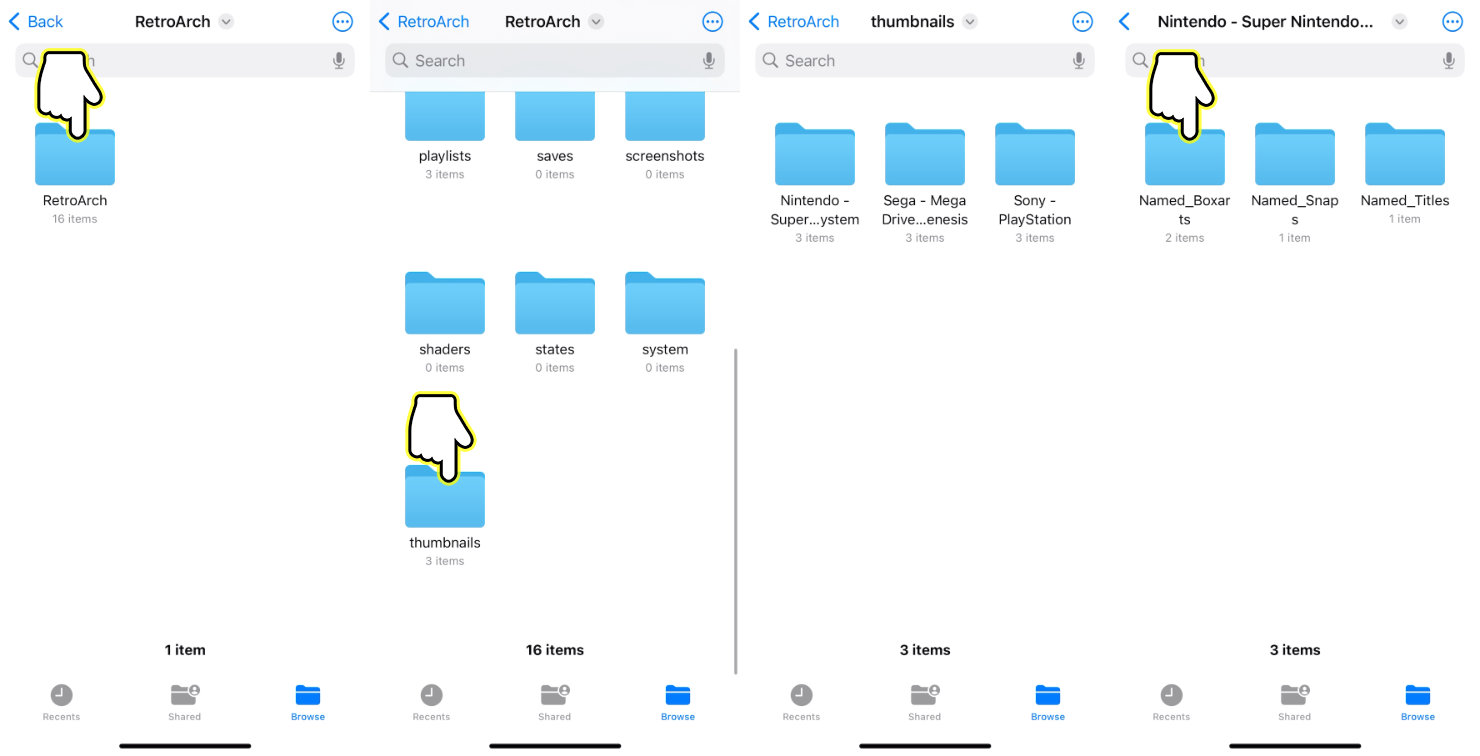
7. Open the RetroArch folder. You may need to press back until you see On My iPhone and open it to see the RetroArch folder.
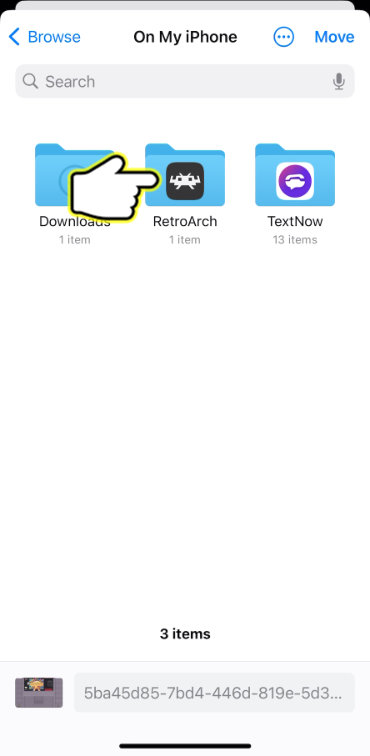
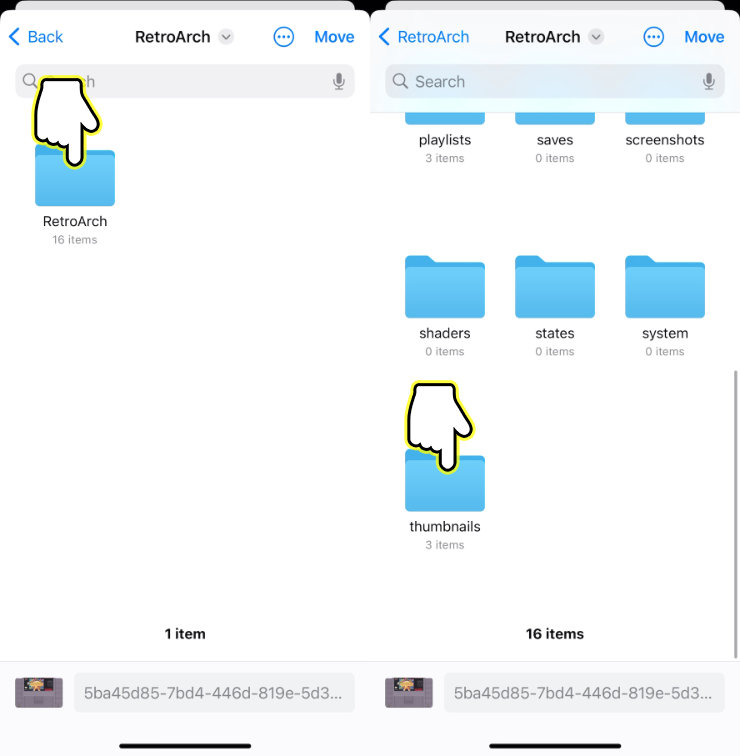
8. Open the RetroArch folder and scroll down and open the thumbnails folder.
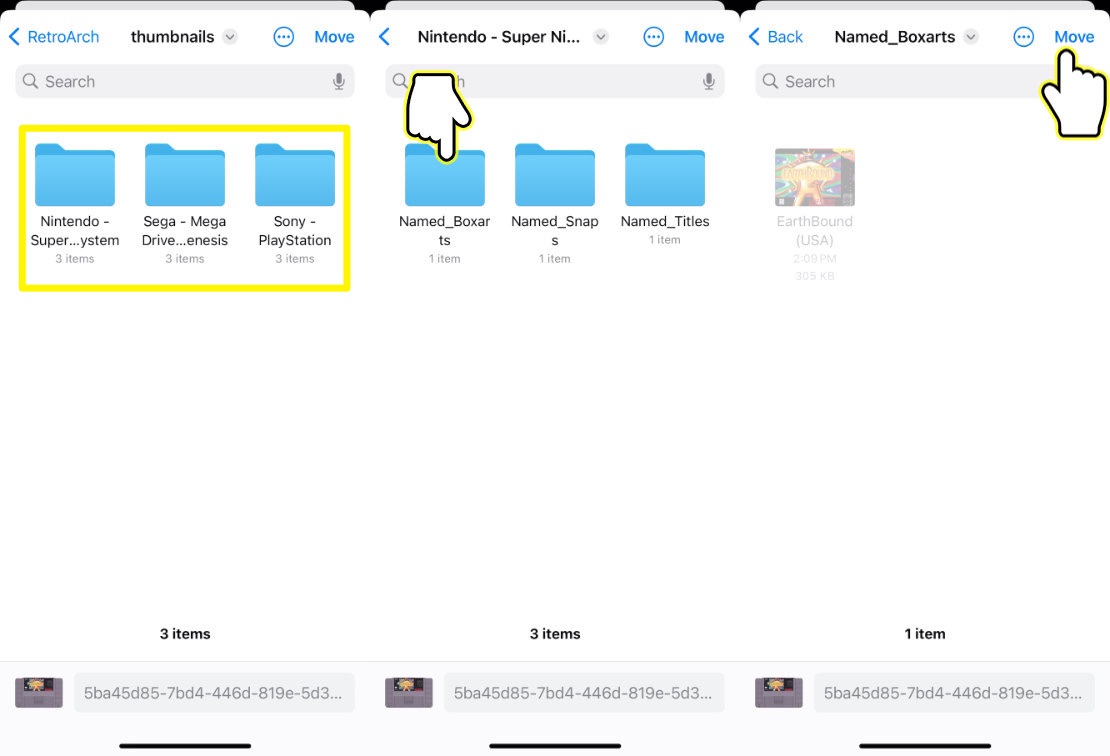
9. Open the folder of the console for your game, open the Named_Boxarts folder, and press Move on the top-right corner.
10. We will now go to the folder where we moved the custom image to. Press back to go to On My iPhone and open the RetroArch folder.
11. Open RetroArch > thumbnails > [console] > Named_Boxarts.
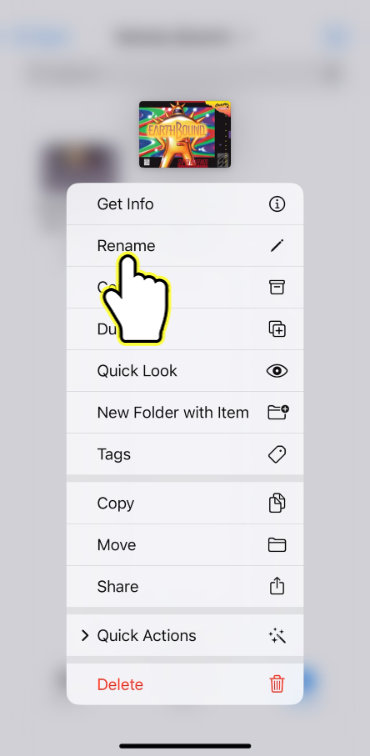
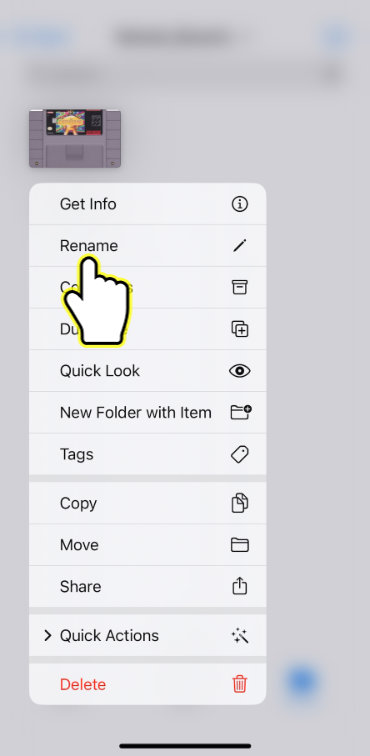
12. We will now rename the custom box art to exactly the same as the name of the default box art. So long press the default box art and press Rename.
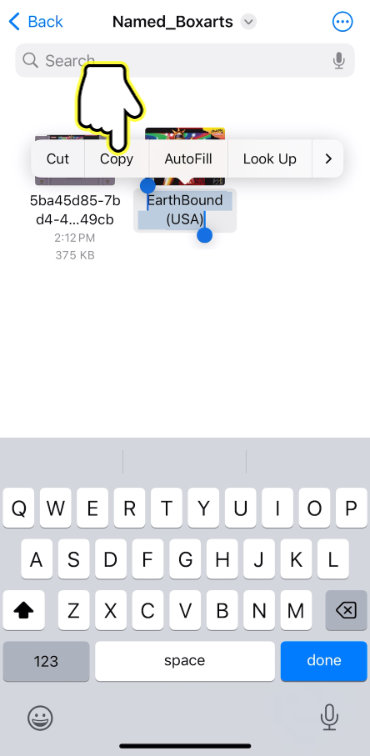
13. Long press the text, press Copy, then press done.
14. We will now delete default box art since we cannot have two files of the same name. Long press the default box art and Delete.
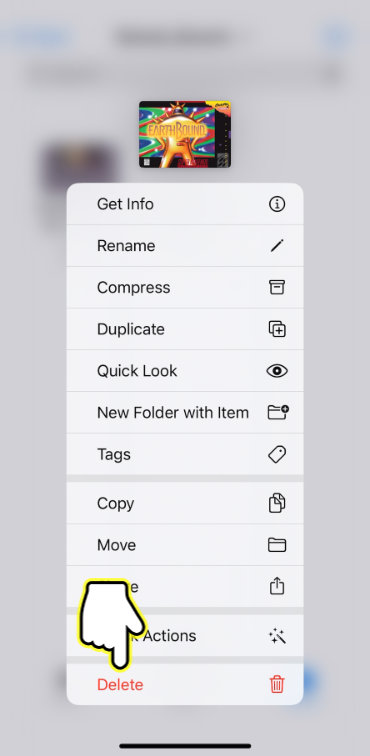
15. Long press the custom box art and press Rename.
16. Long press text, press Paste, and press done.

That's it. The new box art will now display in RetroArch. You will need to repeat this process for each game.